Copywriter & Content Strategist Processes
Step-By-Step Process
Step-By-Step Process
Daily Tasks
Social Pilot
One of the main tasks that the Copywriter begins with on any given workday is checking Social Pilot, our social media scheduling platform. Below is a quick run-through on ensuring everything is checked and running smoothly.
1. Open Social Pilot on your main browser:
2. Login with the credentials found on 1Password (if you need help finding this, please reach out to the Copywriter (Manny Detres) for assistance.
3. After logging in, the main Dashboard will come up like so:
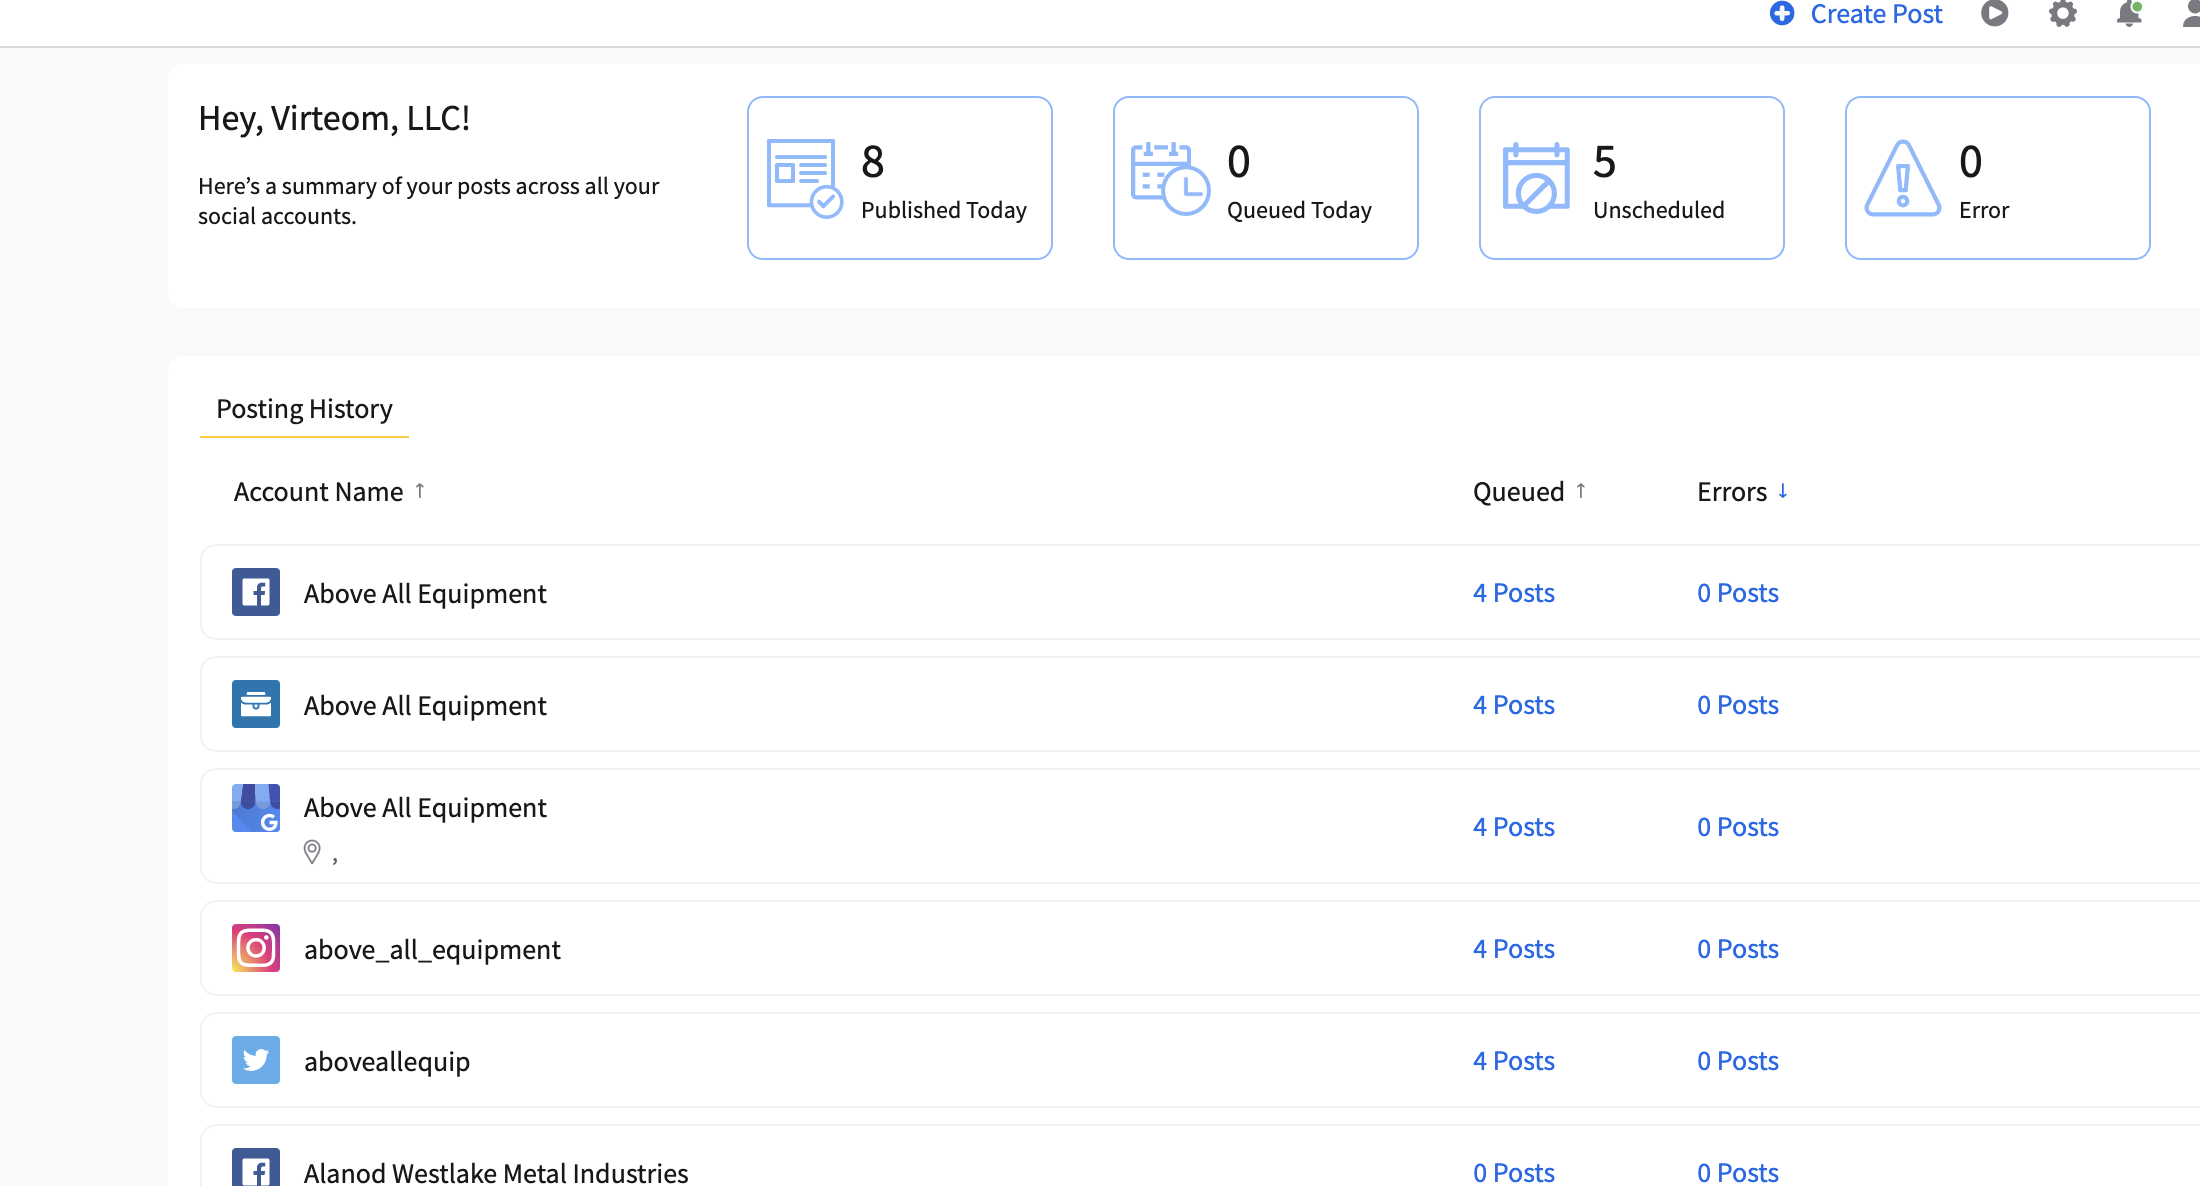
4. You will ensure first that there are no errors by checking this location:
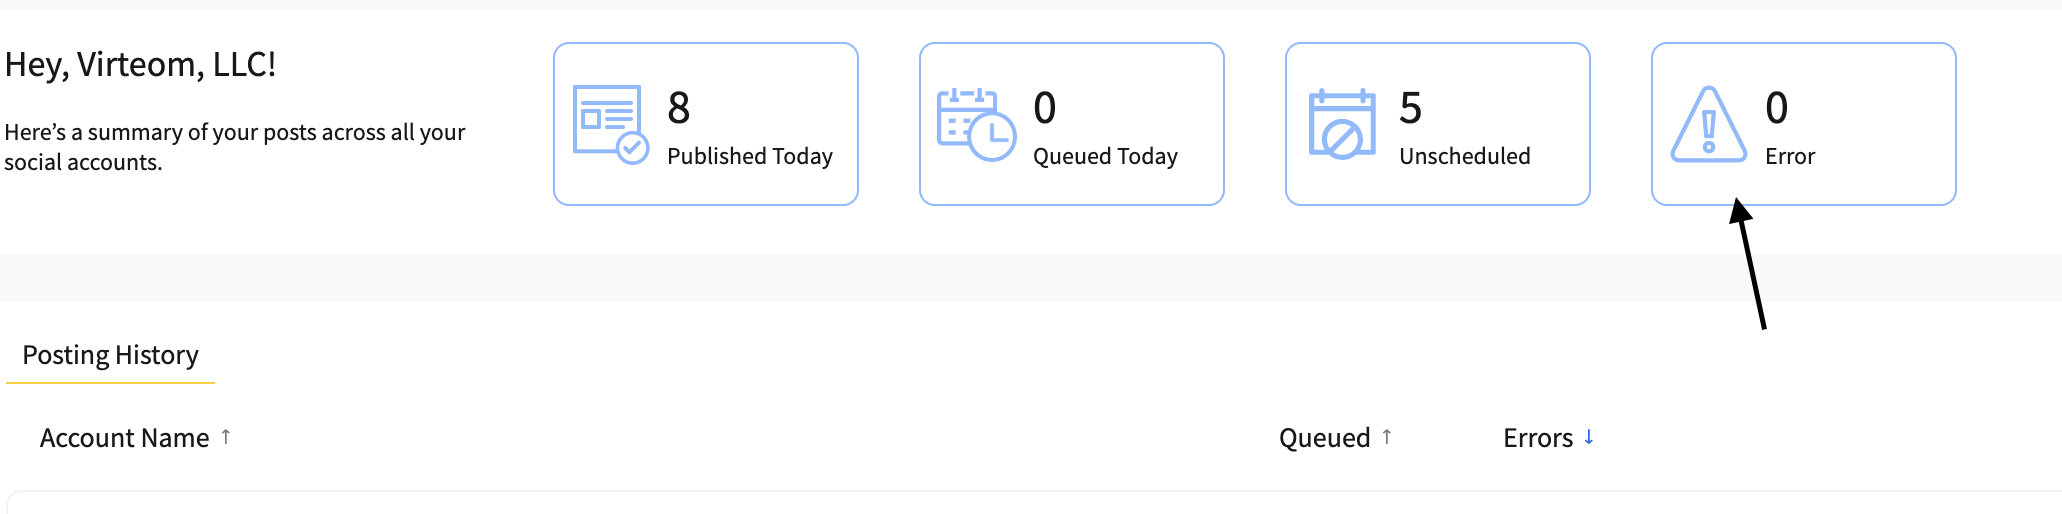
5. If there are no errors, check back throughout the day as posts begin to go out.
6. If there happens to be an error or several errors for several posts, you will want to head in and fix these issues, as the client's posts will not go out until the error is addressed.
7. To fix an error on a post, click on the "Errors" tab.
8. Once in the "Errors" tab, look for the red description that will detail what the error is indicating.
9. It might take a little bit more digging, but if more information is needed for the error, please get in touch with the Content Writer (Emmanuel Detres) via email for assistance.
Blog Writing
1. Each week, the Project Manager creates a series of writing tasks for the Content Writer to complete promptly.
2. For the writing portion of the task, the Copywriter (Emmanuel Detres) will go into the job and then change the mission to "In Progress."
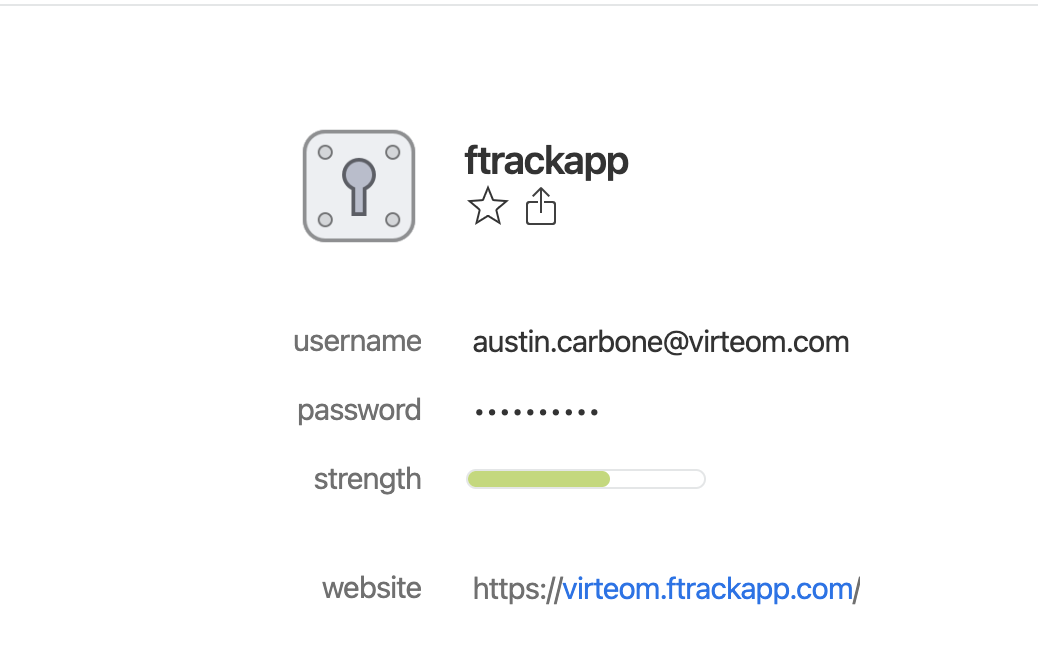
3. From this point, you will go into FTRACK and log in using the credentials provided below:
username: virteom
(refer to photo below)
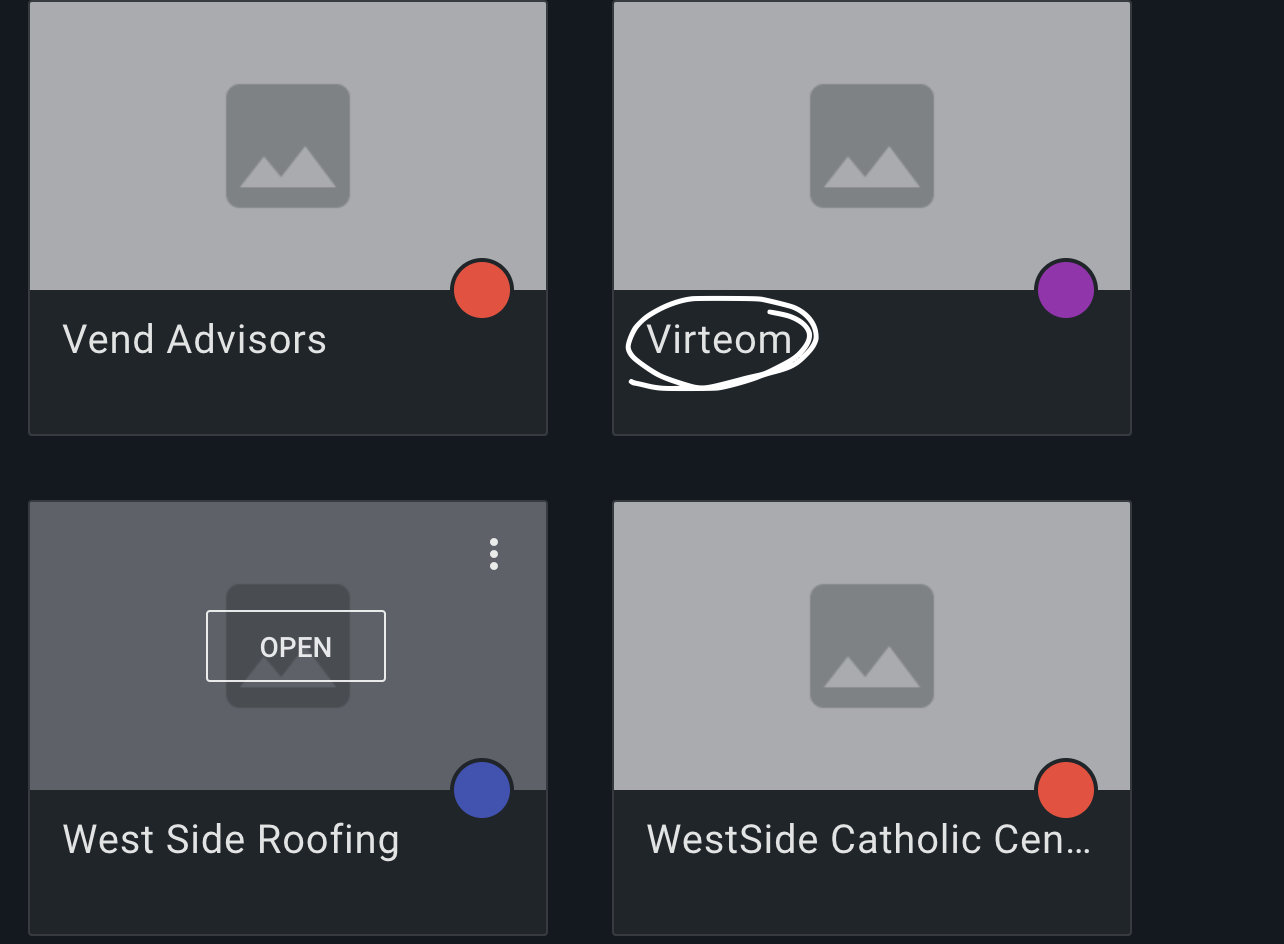
4. Once in FTRACK, look for the client and click on their video files:
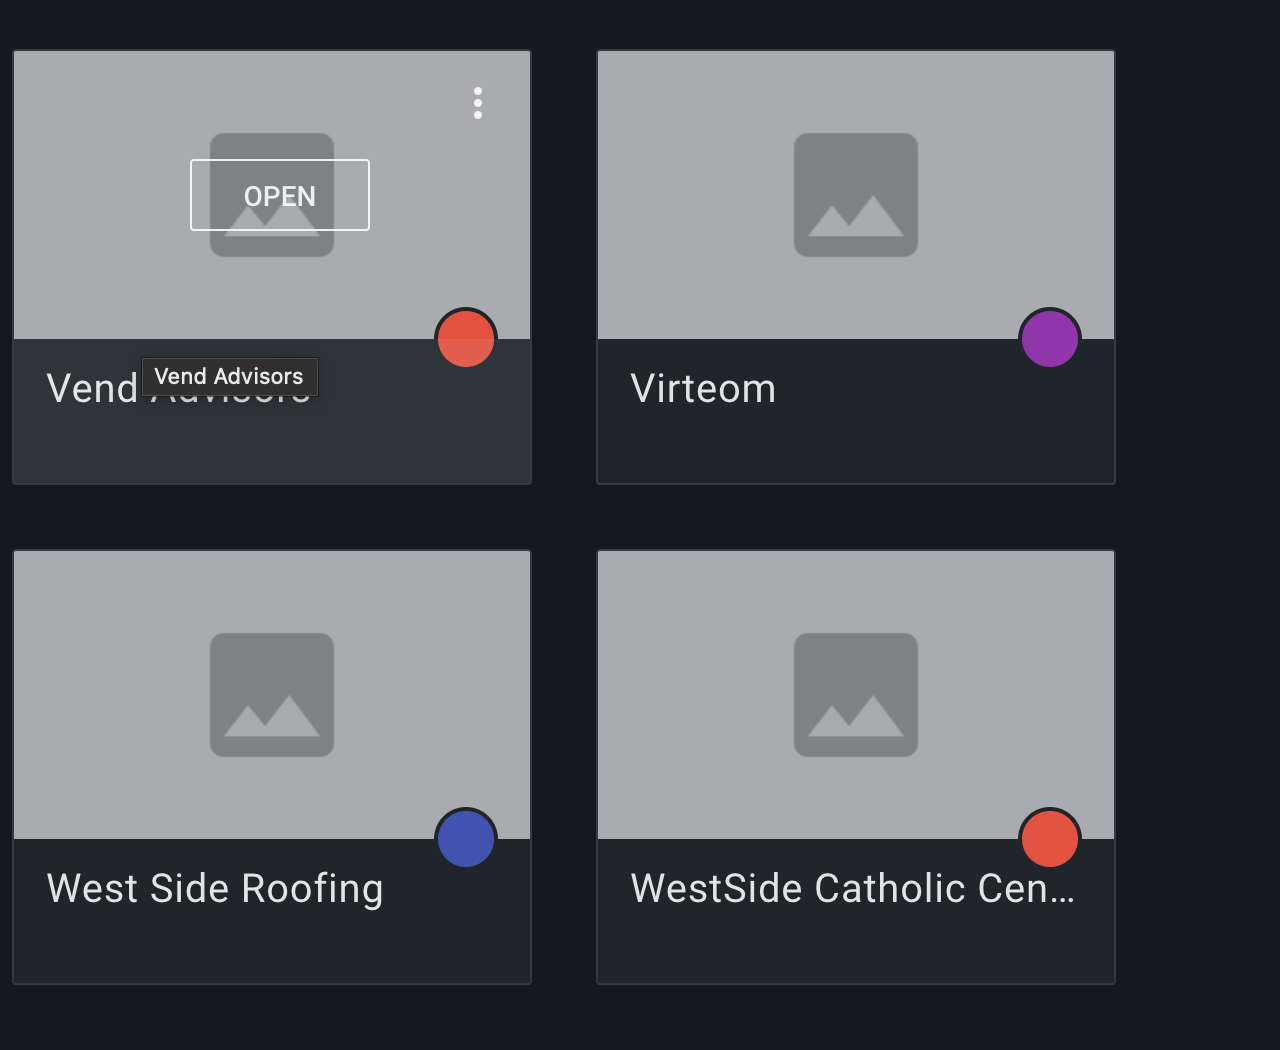
5. Make sure to click into the most recent video files like so:
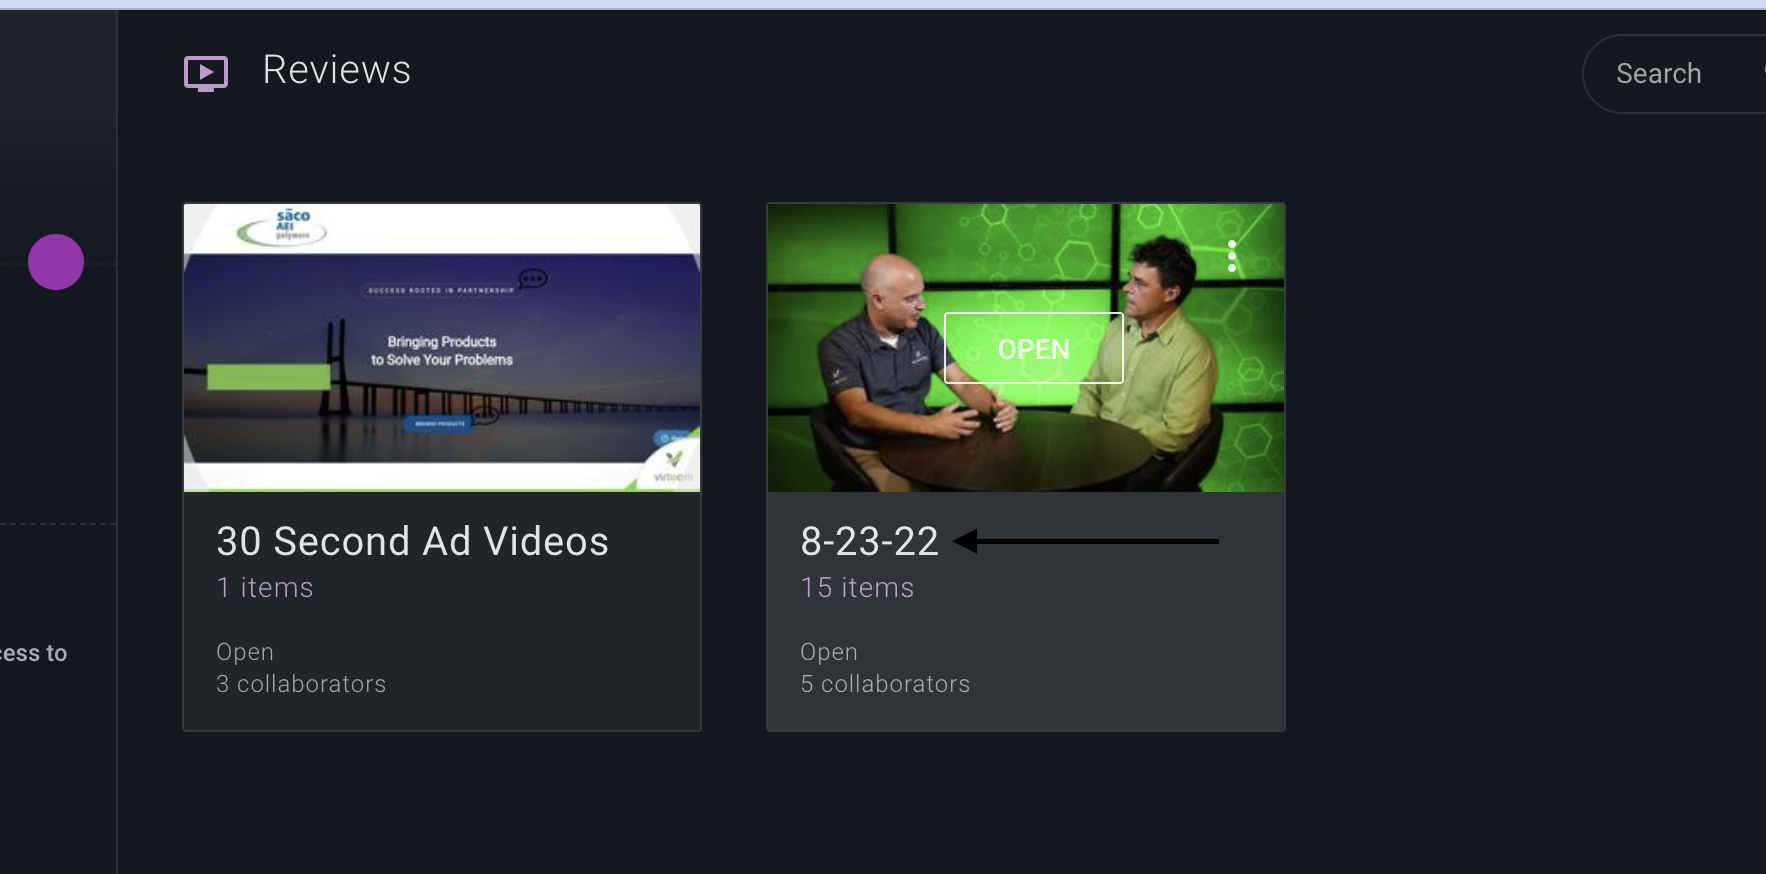
6. Once in the correct file, you can view the videos and take notes to ensure you grasp the client's content.
7. Usually, the blog's title will be the video's title, but it is best to use judgment based on the content being discussed in the video.
8. After taking the notes, it is time to write the blogs before posting them to the client's site.
9. For this process, it is best to open Google Docs via the Virteom drive and create a new file to keep all the blogs for this session in a single location as so:
https://drive.google.com/drive/my-drive
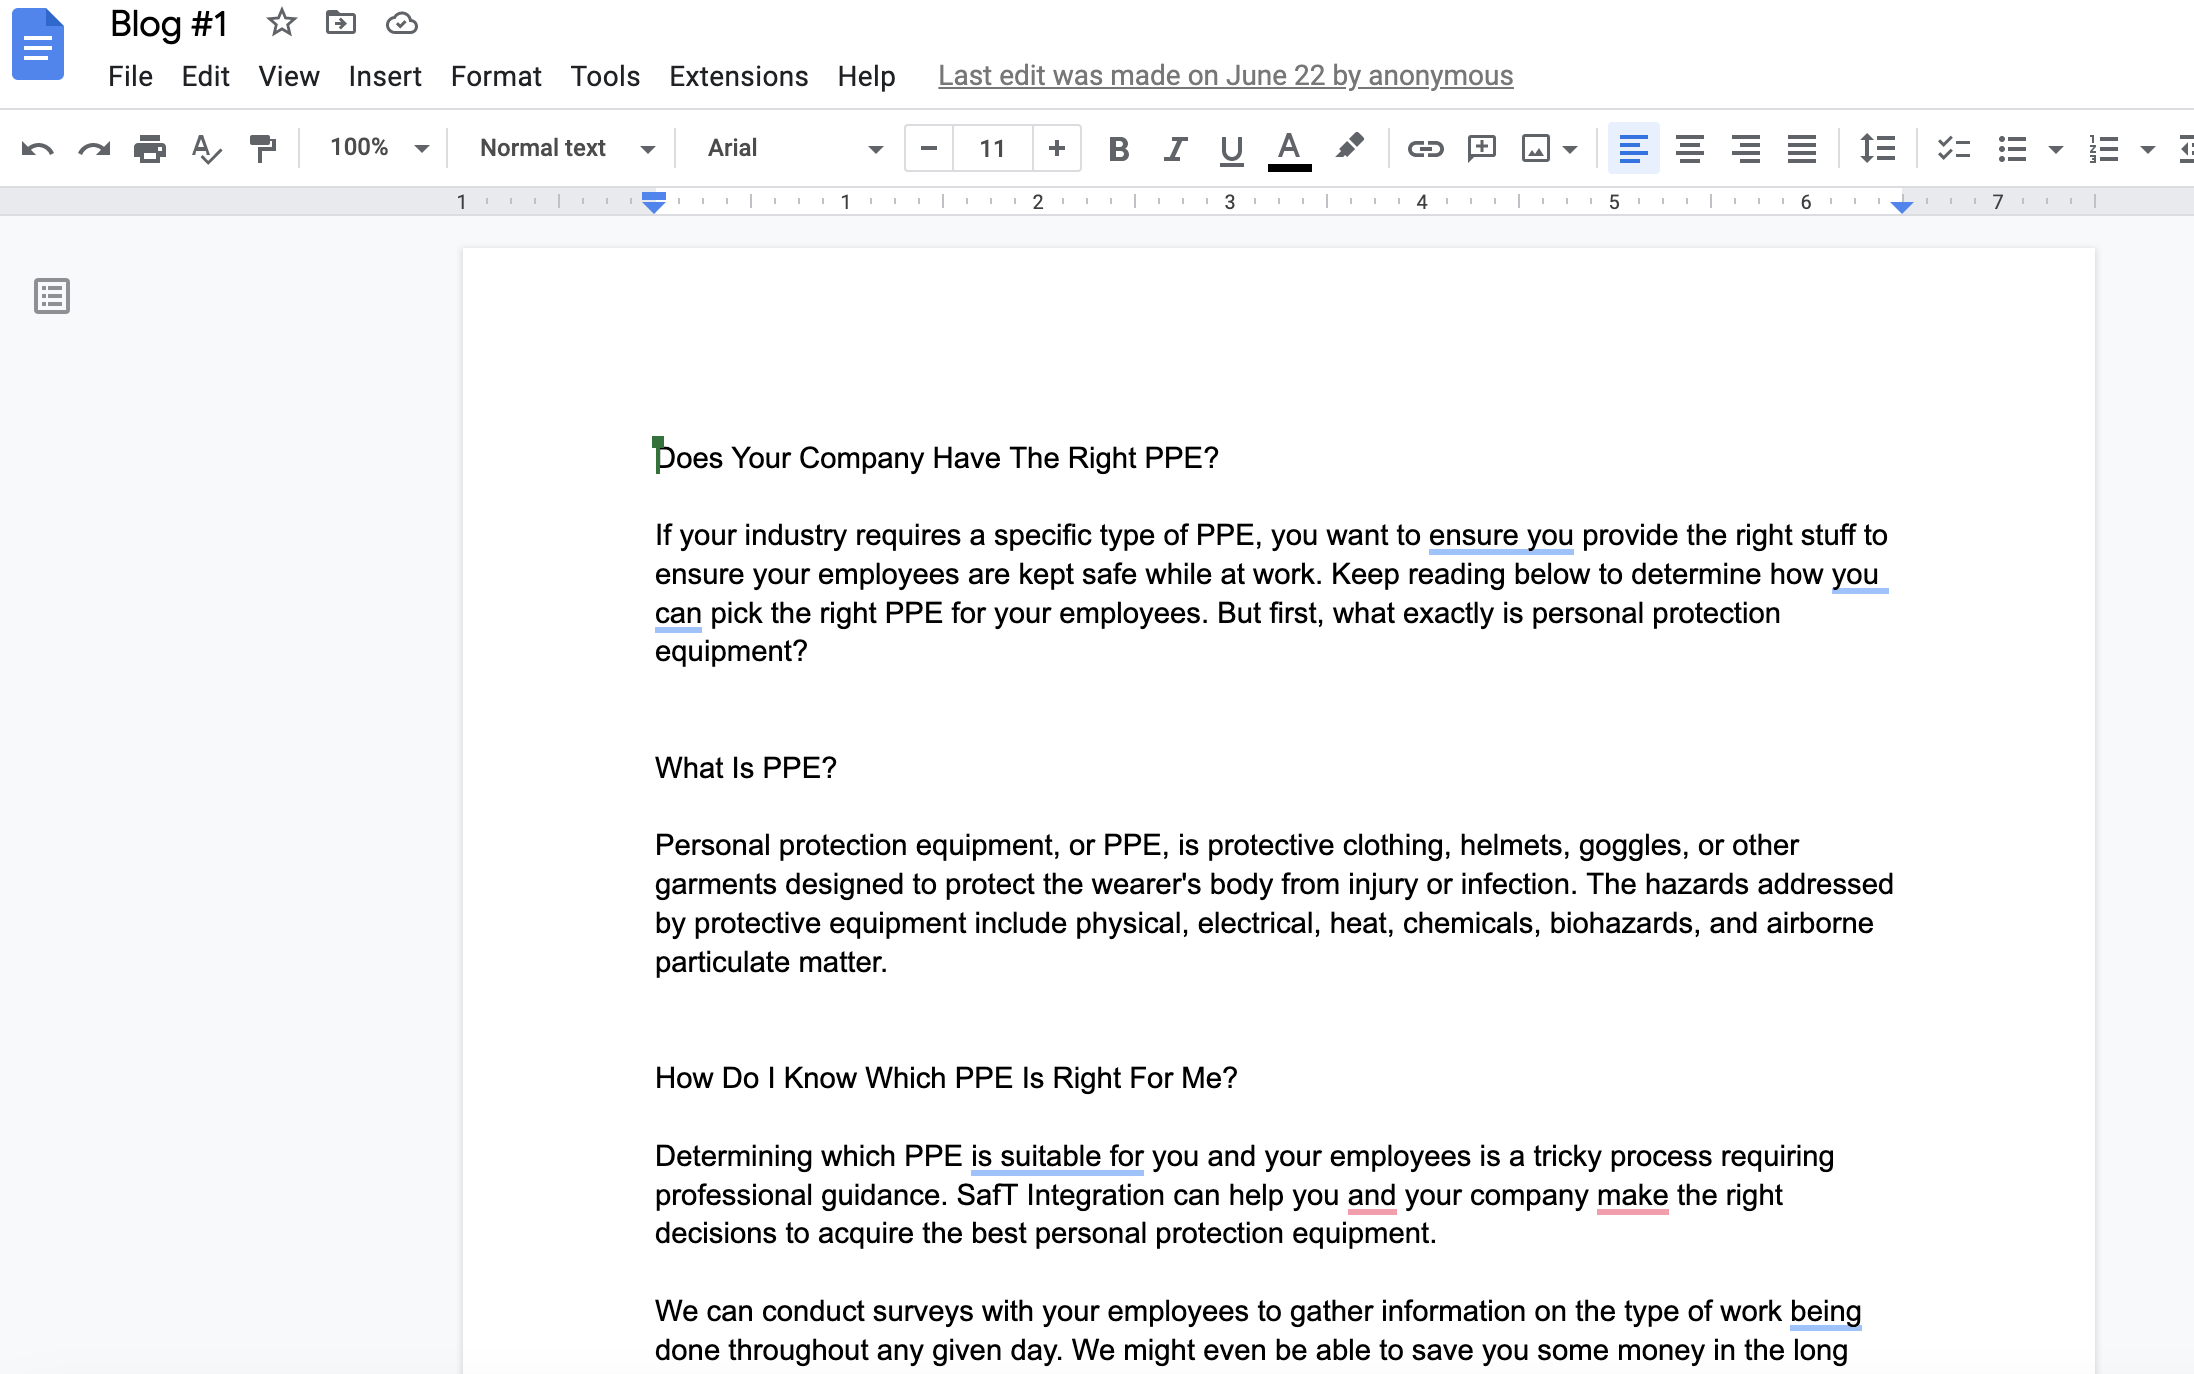
10. Take time to ensure the content of the blog is correctly written out with Headings and small paragraphs that are easily digestible for the audience the content is being written for. Make sure grammar and such are correctly utilized.
***Virteom currently posts blogs to these platforms: RocketSites, WordPress, SquareSpace, and others
12. Based on which of these platforms the client uses for their site, posting the content will remain the same minus the tools and information being added (that will vary depending on the forum).
13. For RocketSites, the most used platform, you will be posting the content written plus additional information like meta description, hashtags, blog photos, content tags, links to other blogs, links to outside sources if needed, Headings, hybrid blog forms, contact link, author name, title, and more.
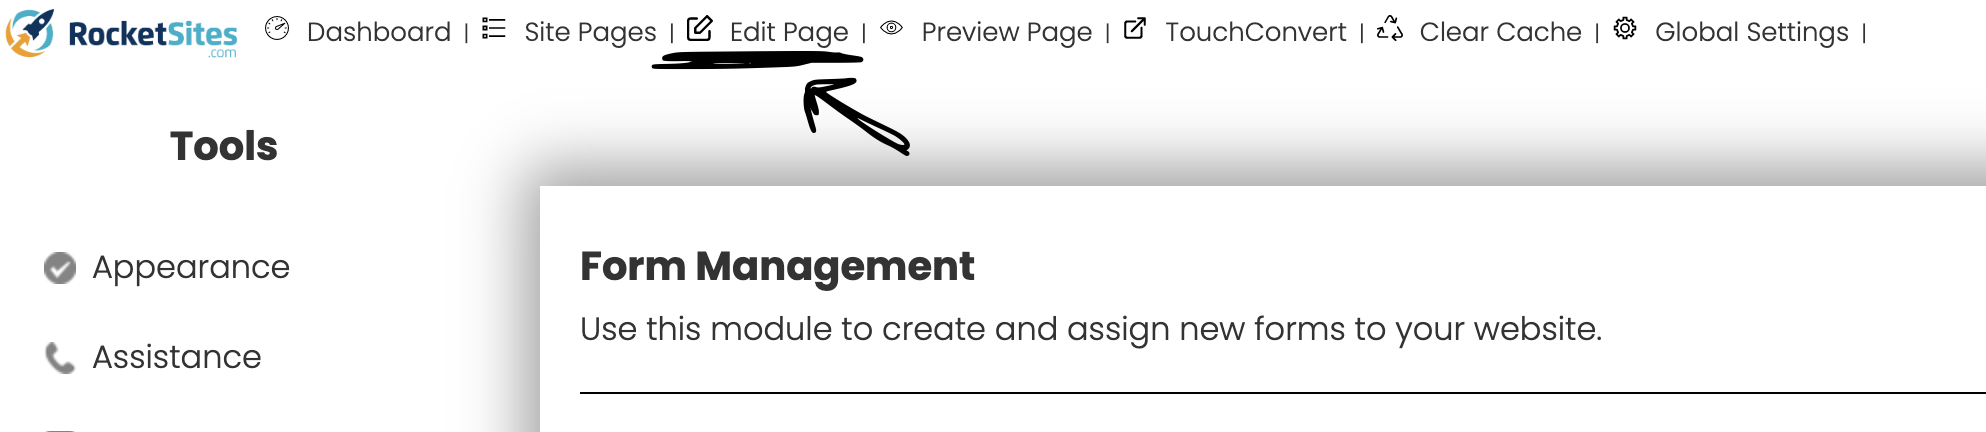
14. Here is a quick step-by-step process of how to post and get the content published for the client's through RocketSites:
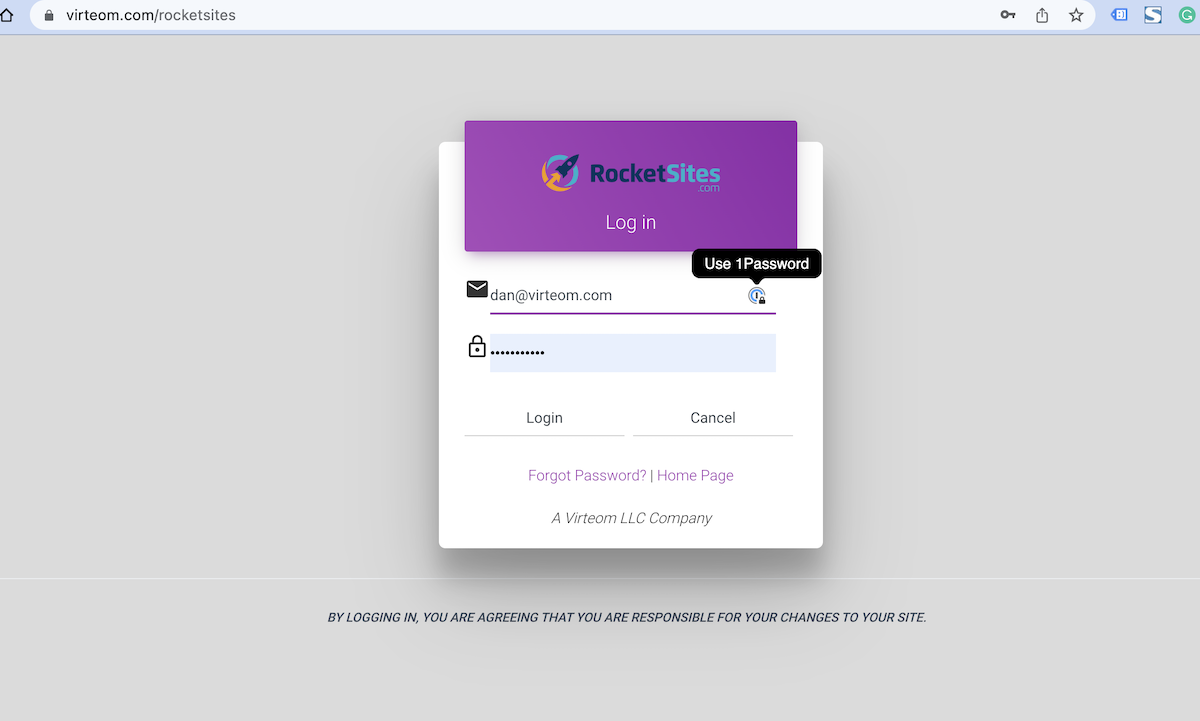
Login into the client's site:
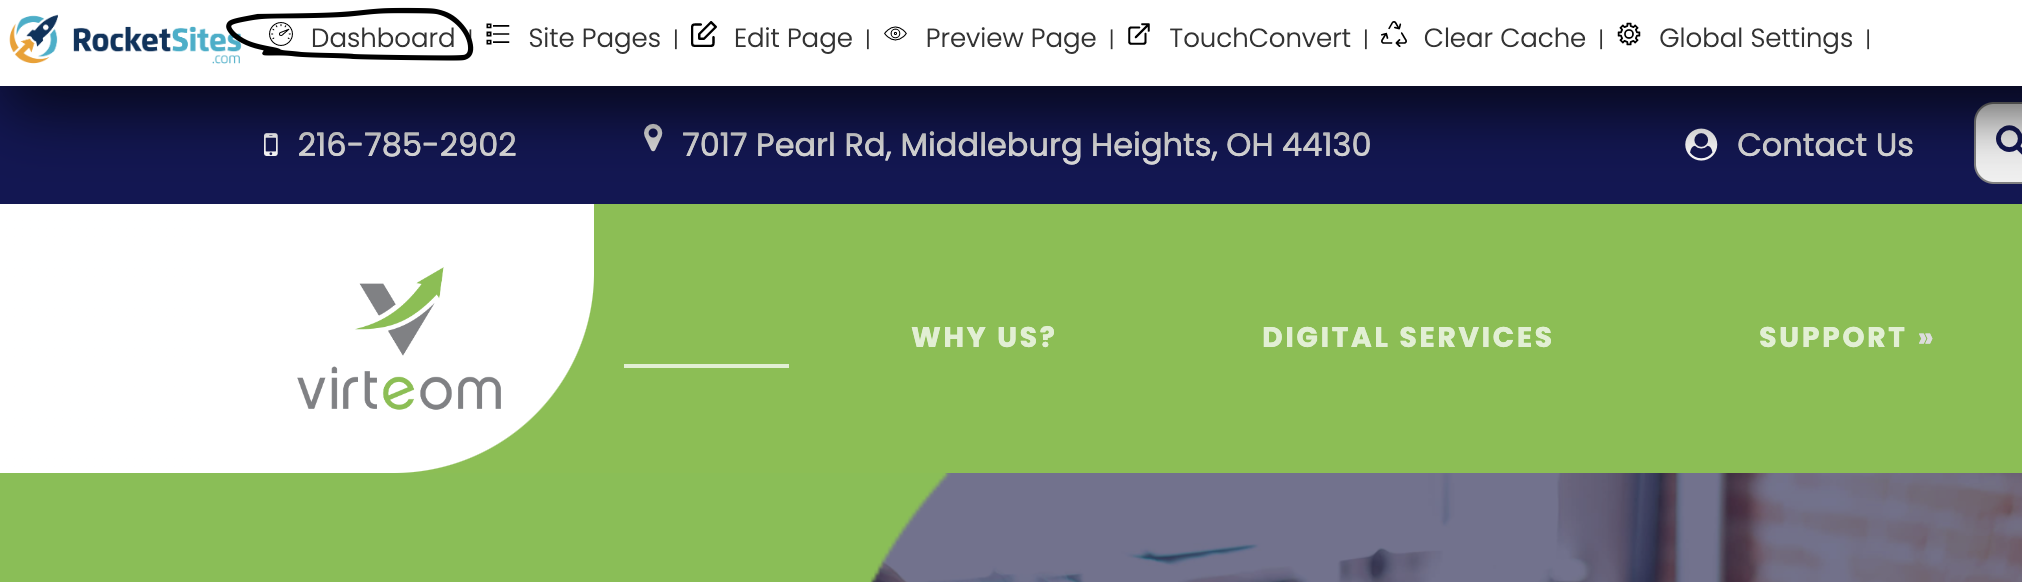
Click on Dashboard:
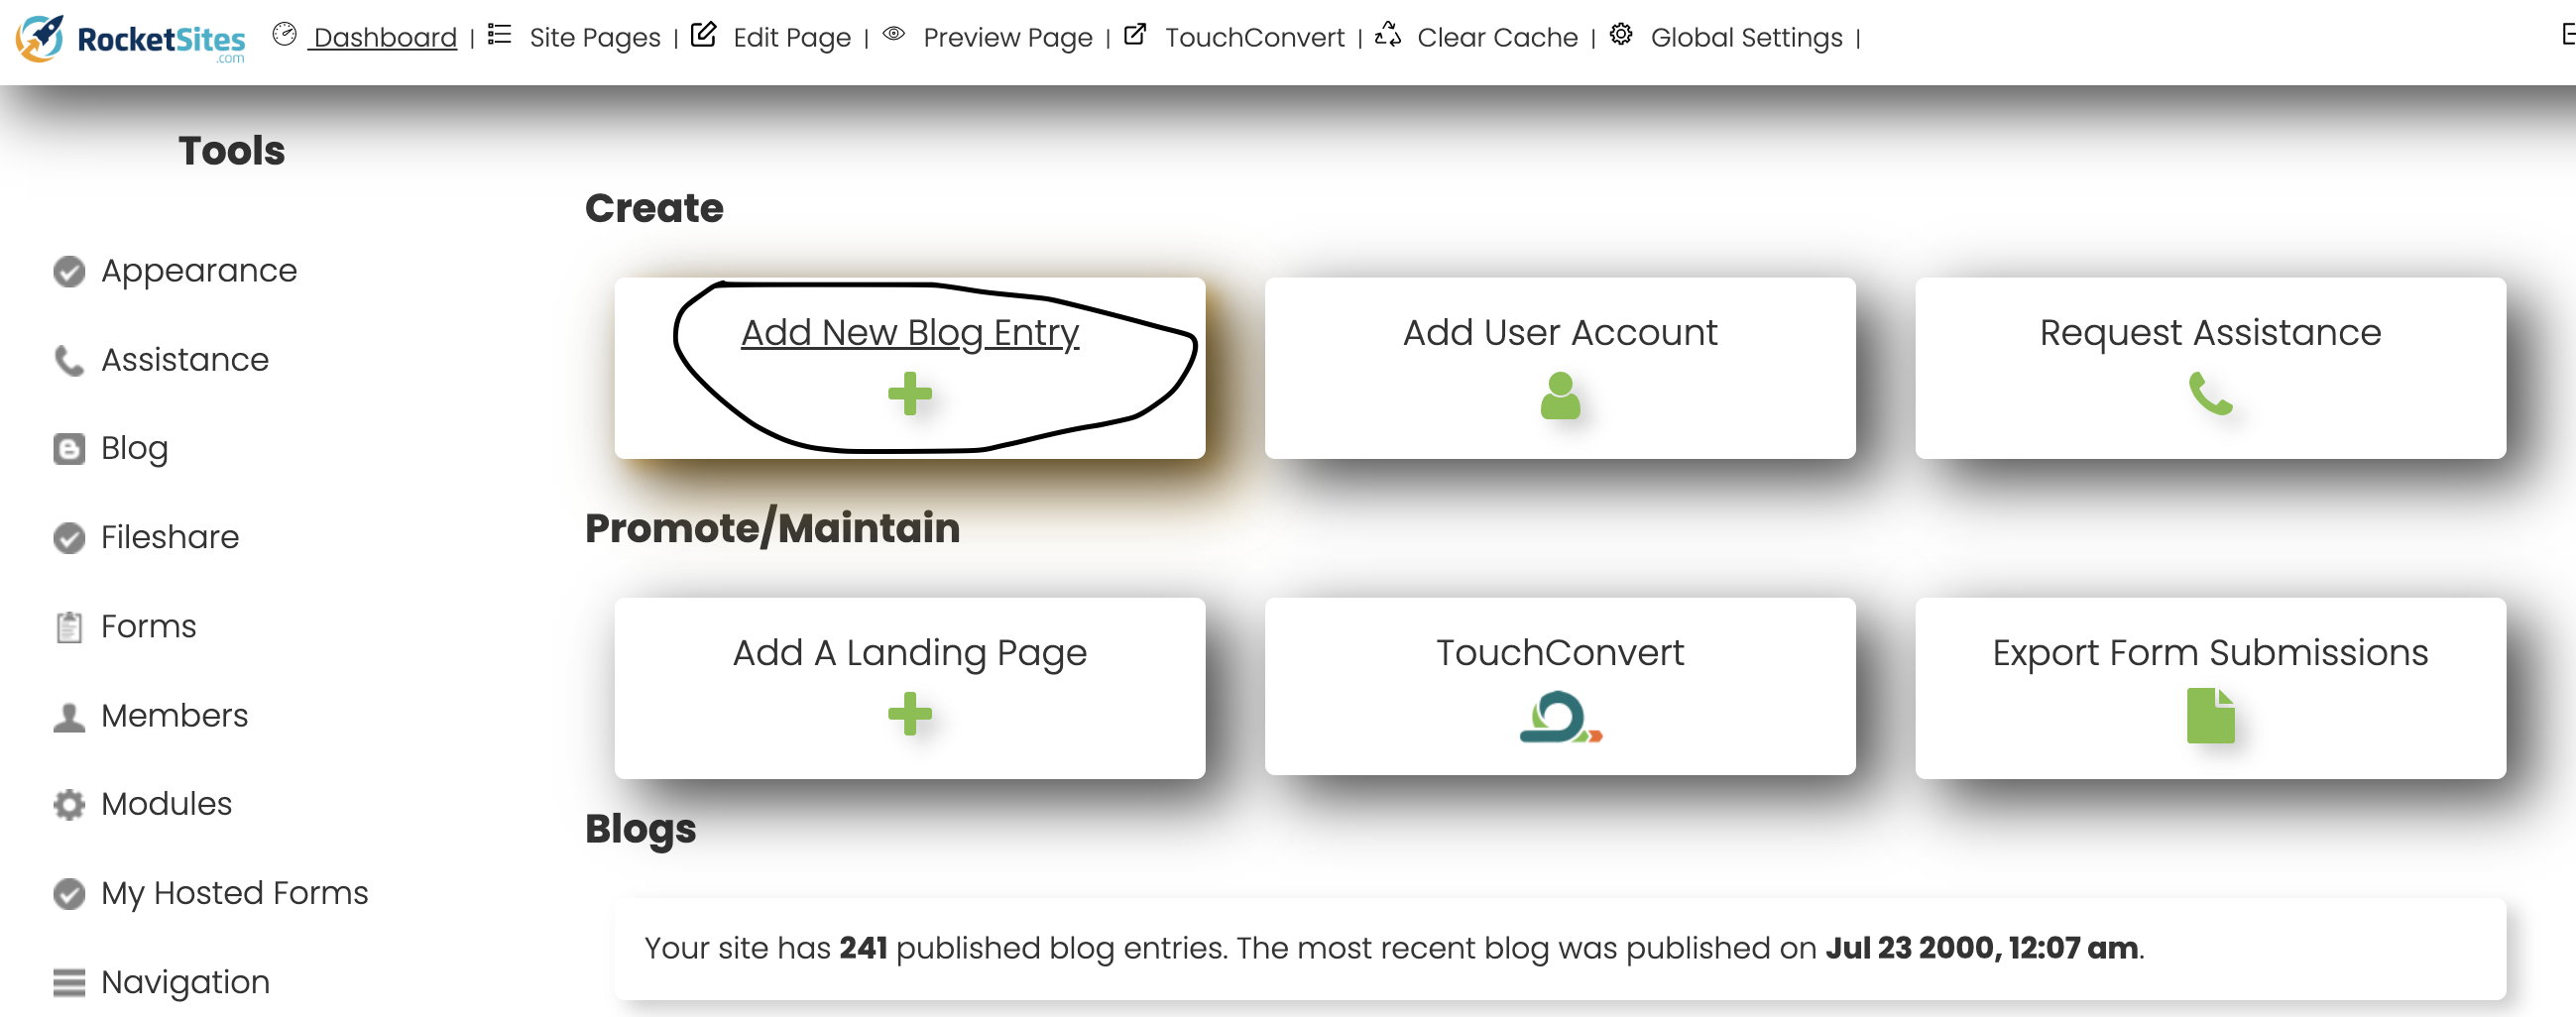
From Dashboard, click on "Add New Blog Entry":
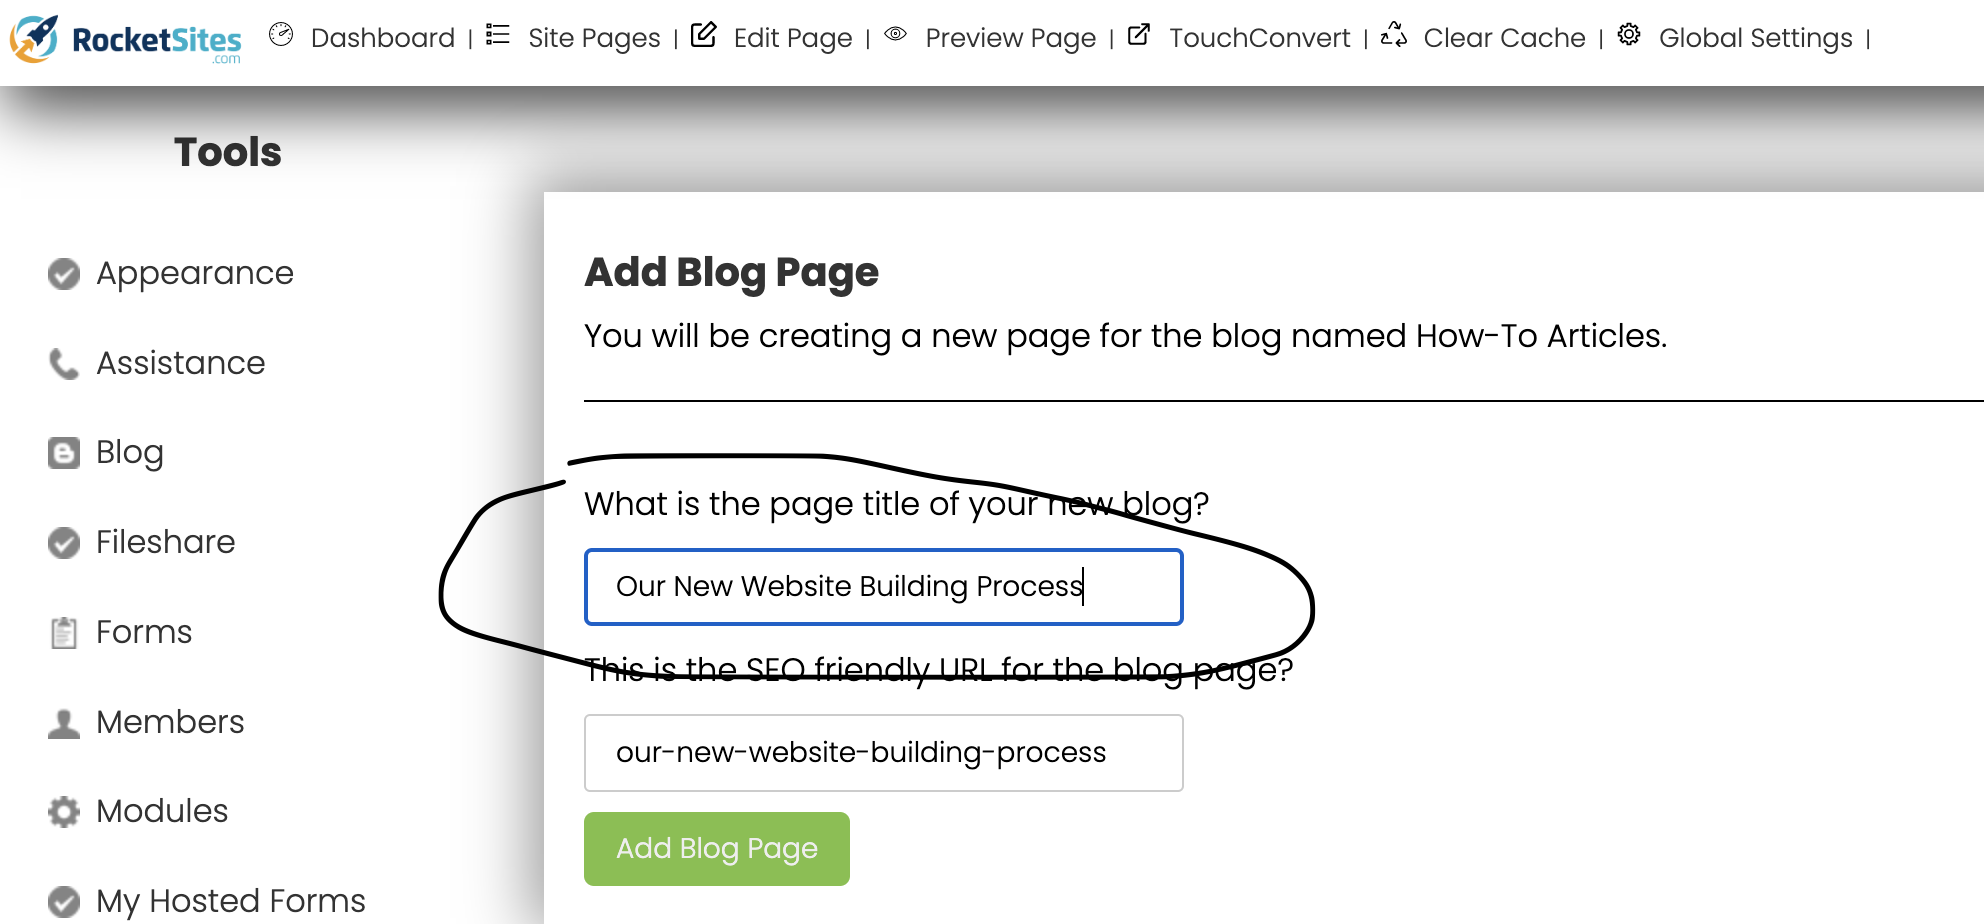
Copy and Paste the title of the blog like so:
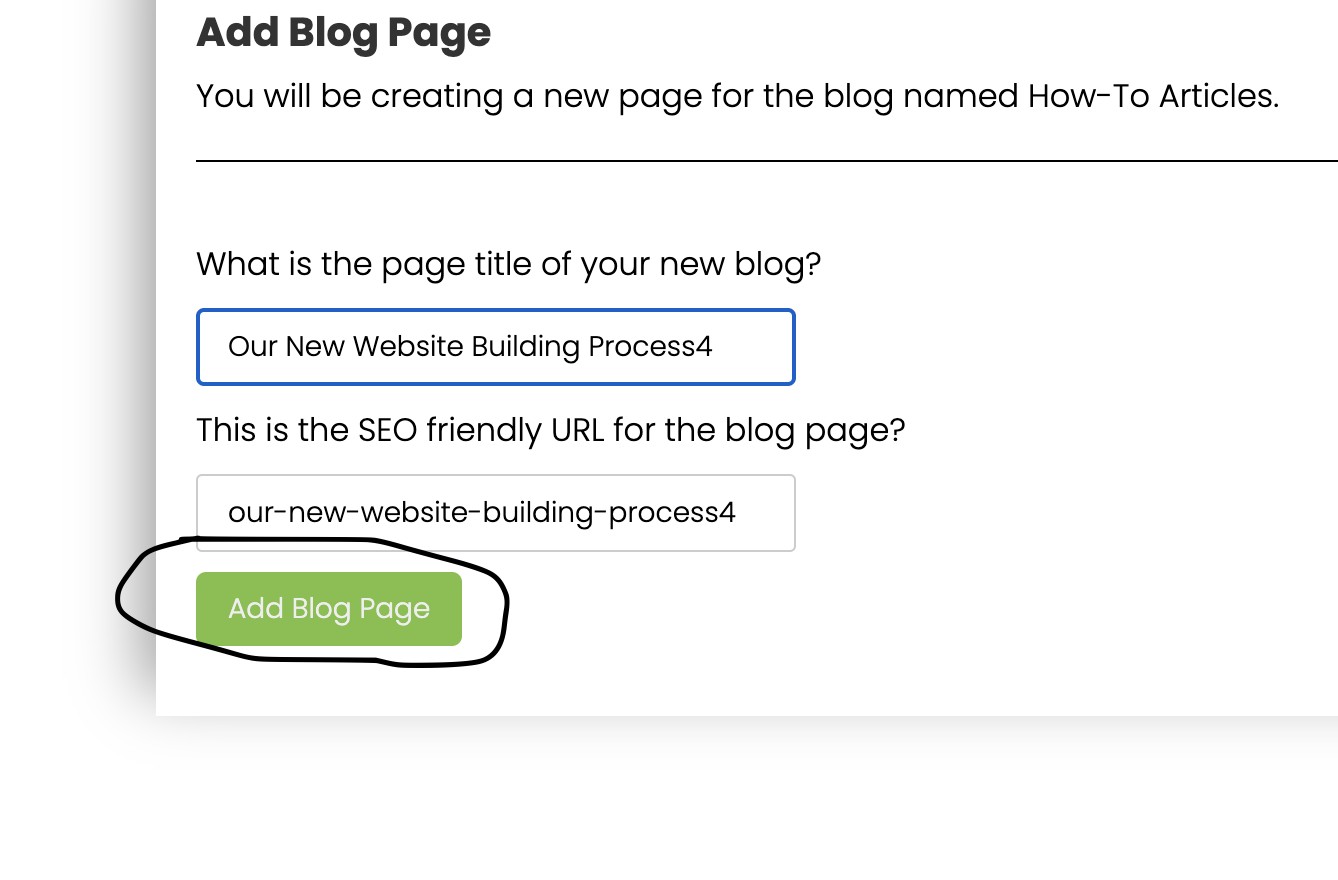
Click on "add blog page":
Copy and paste the content onto RocketSites
Organize the content with Headings and paragraphs:
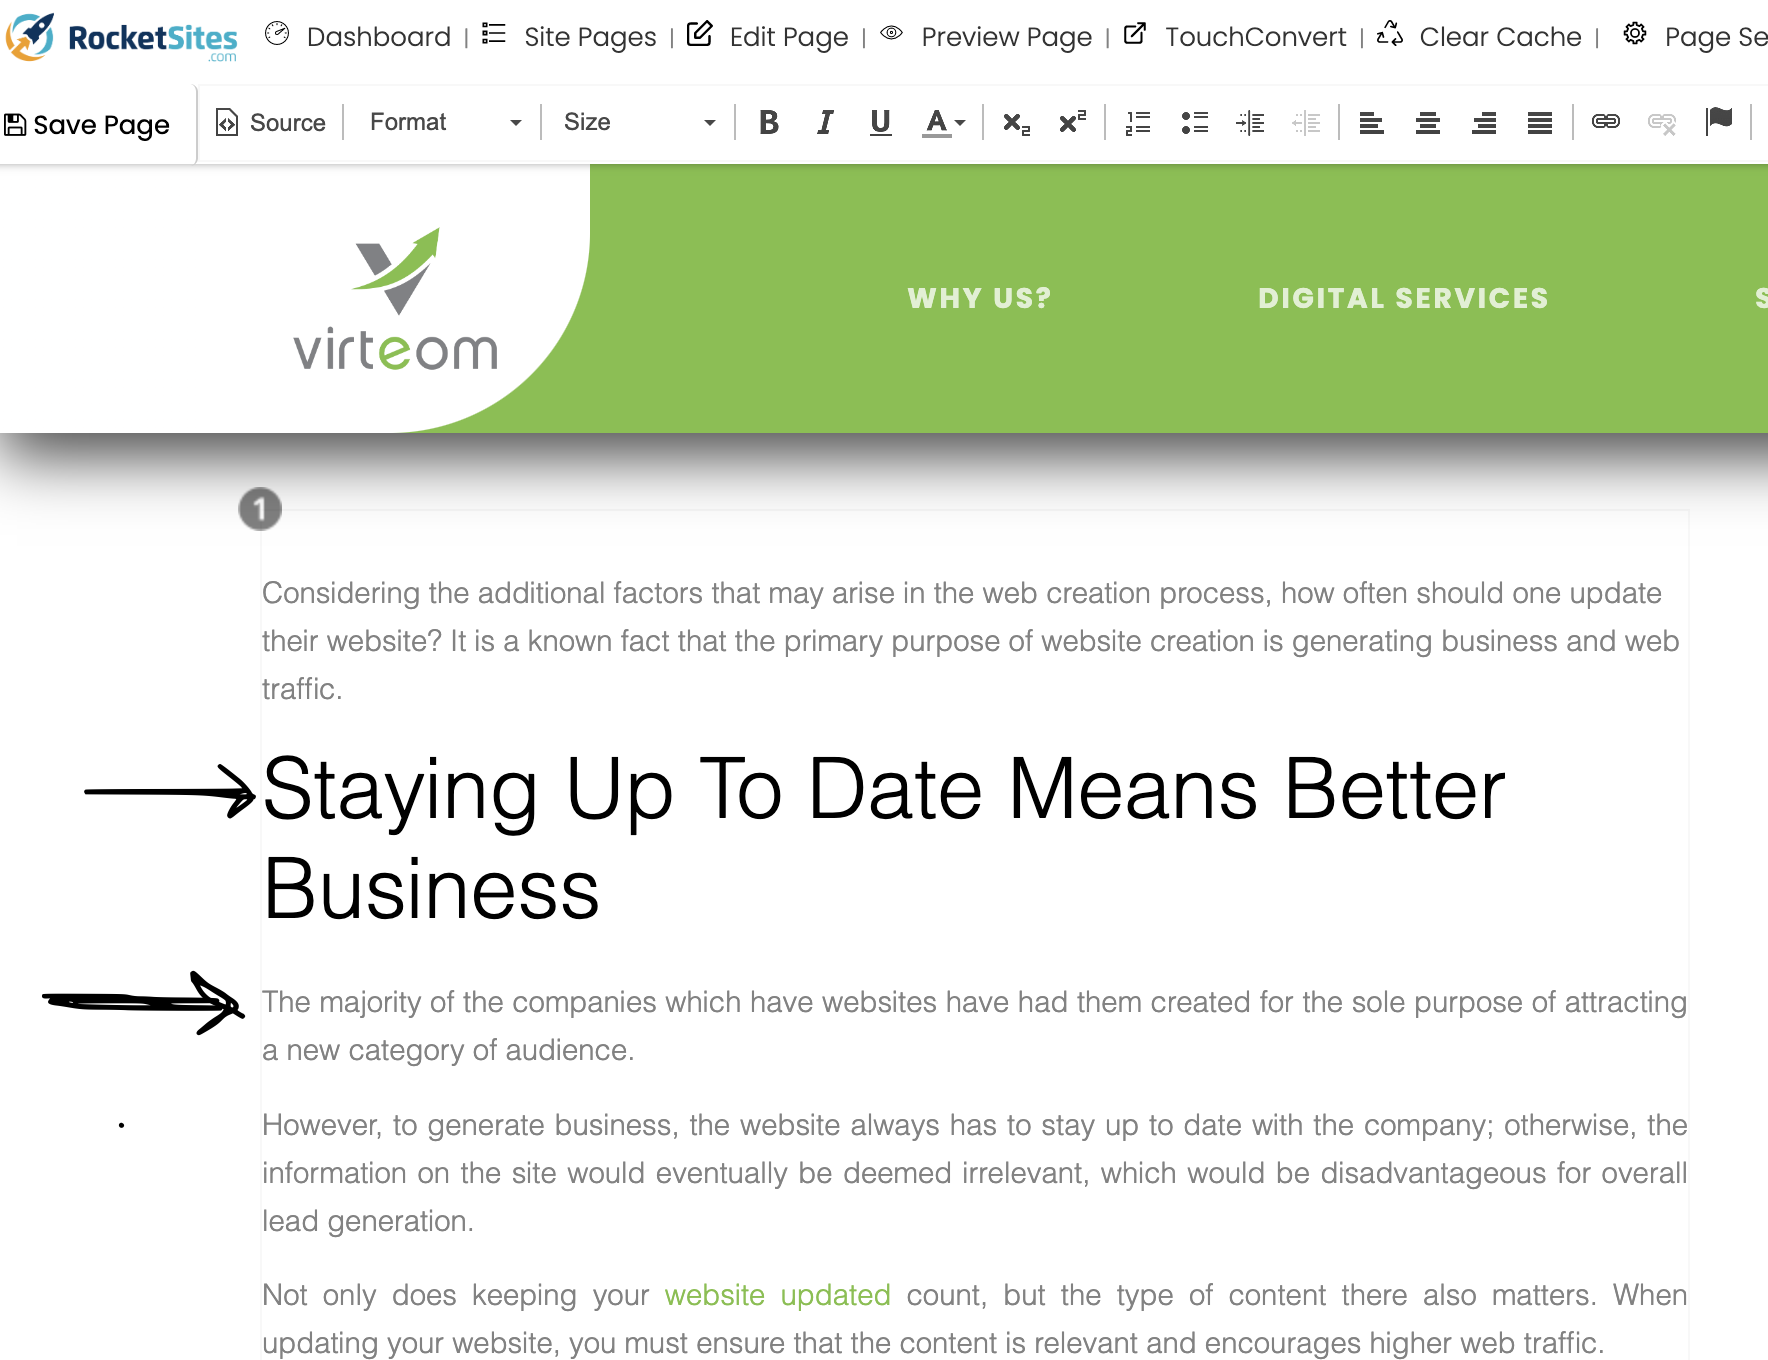
***Ensure grammar and sentence structure is correct***
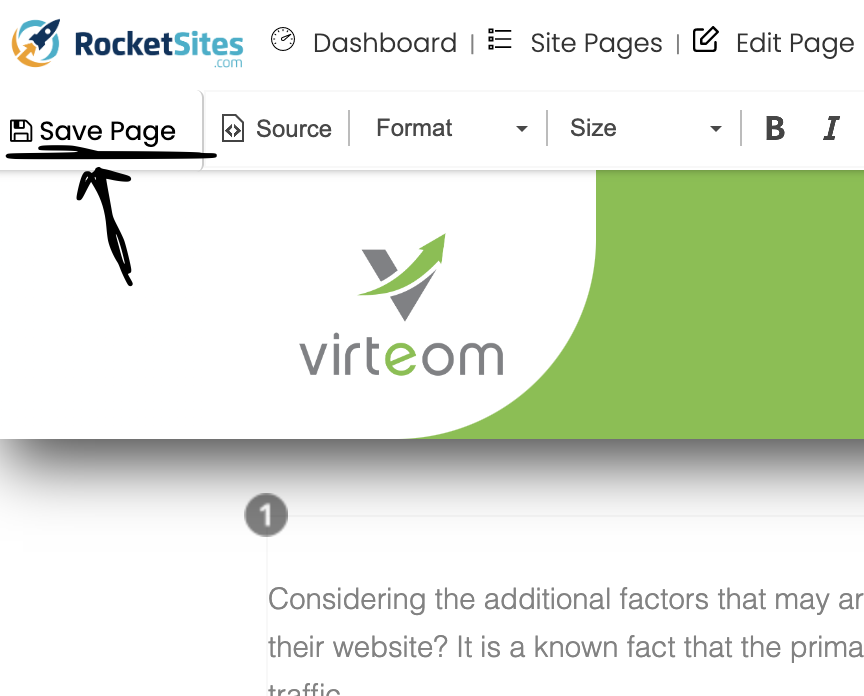
*Always SAVE when editing the blog*:
When possible, add the hybrid blog page:
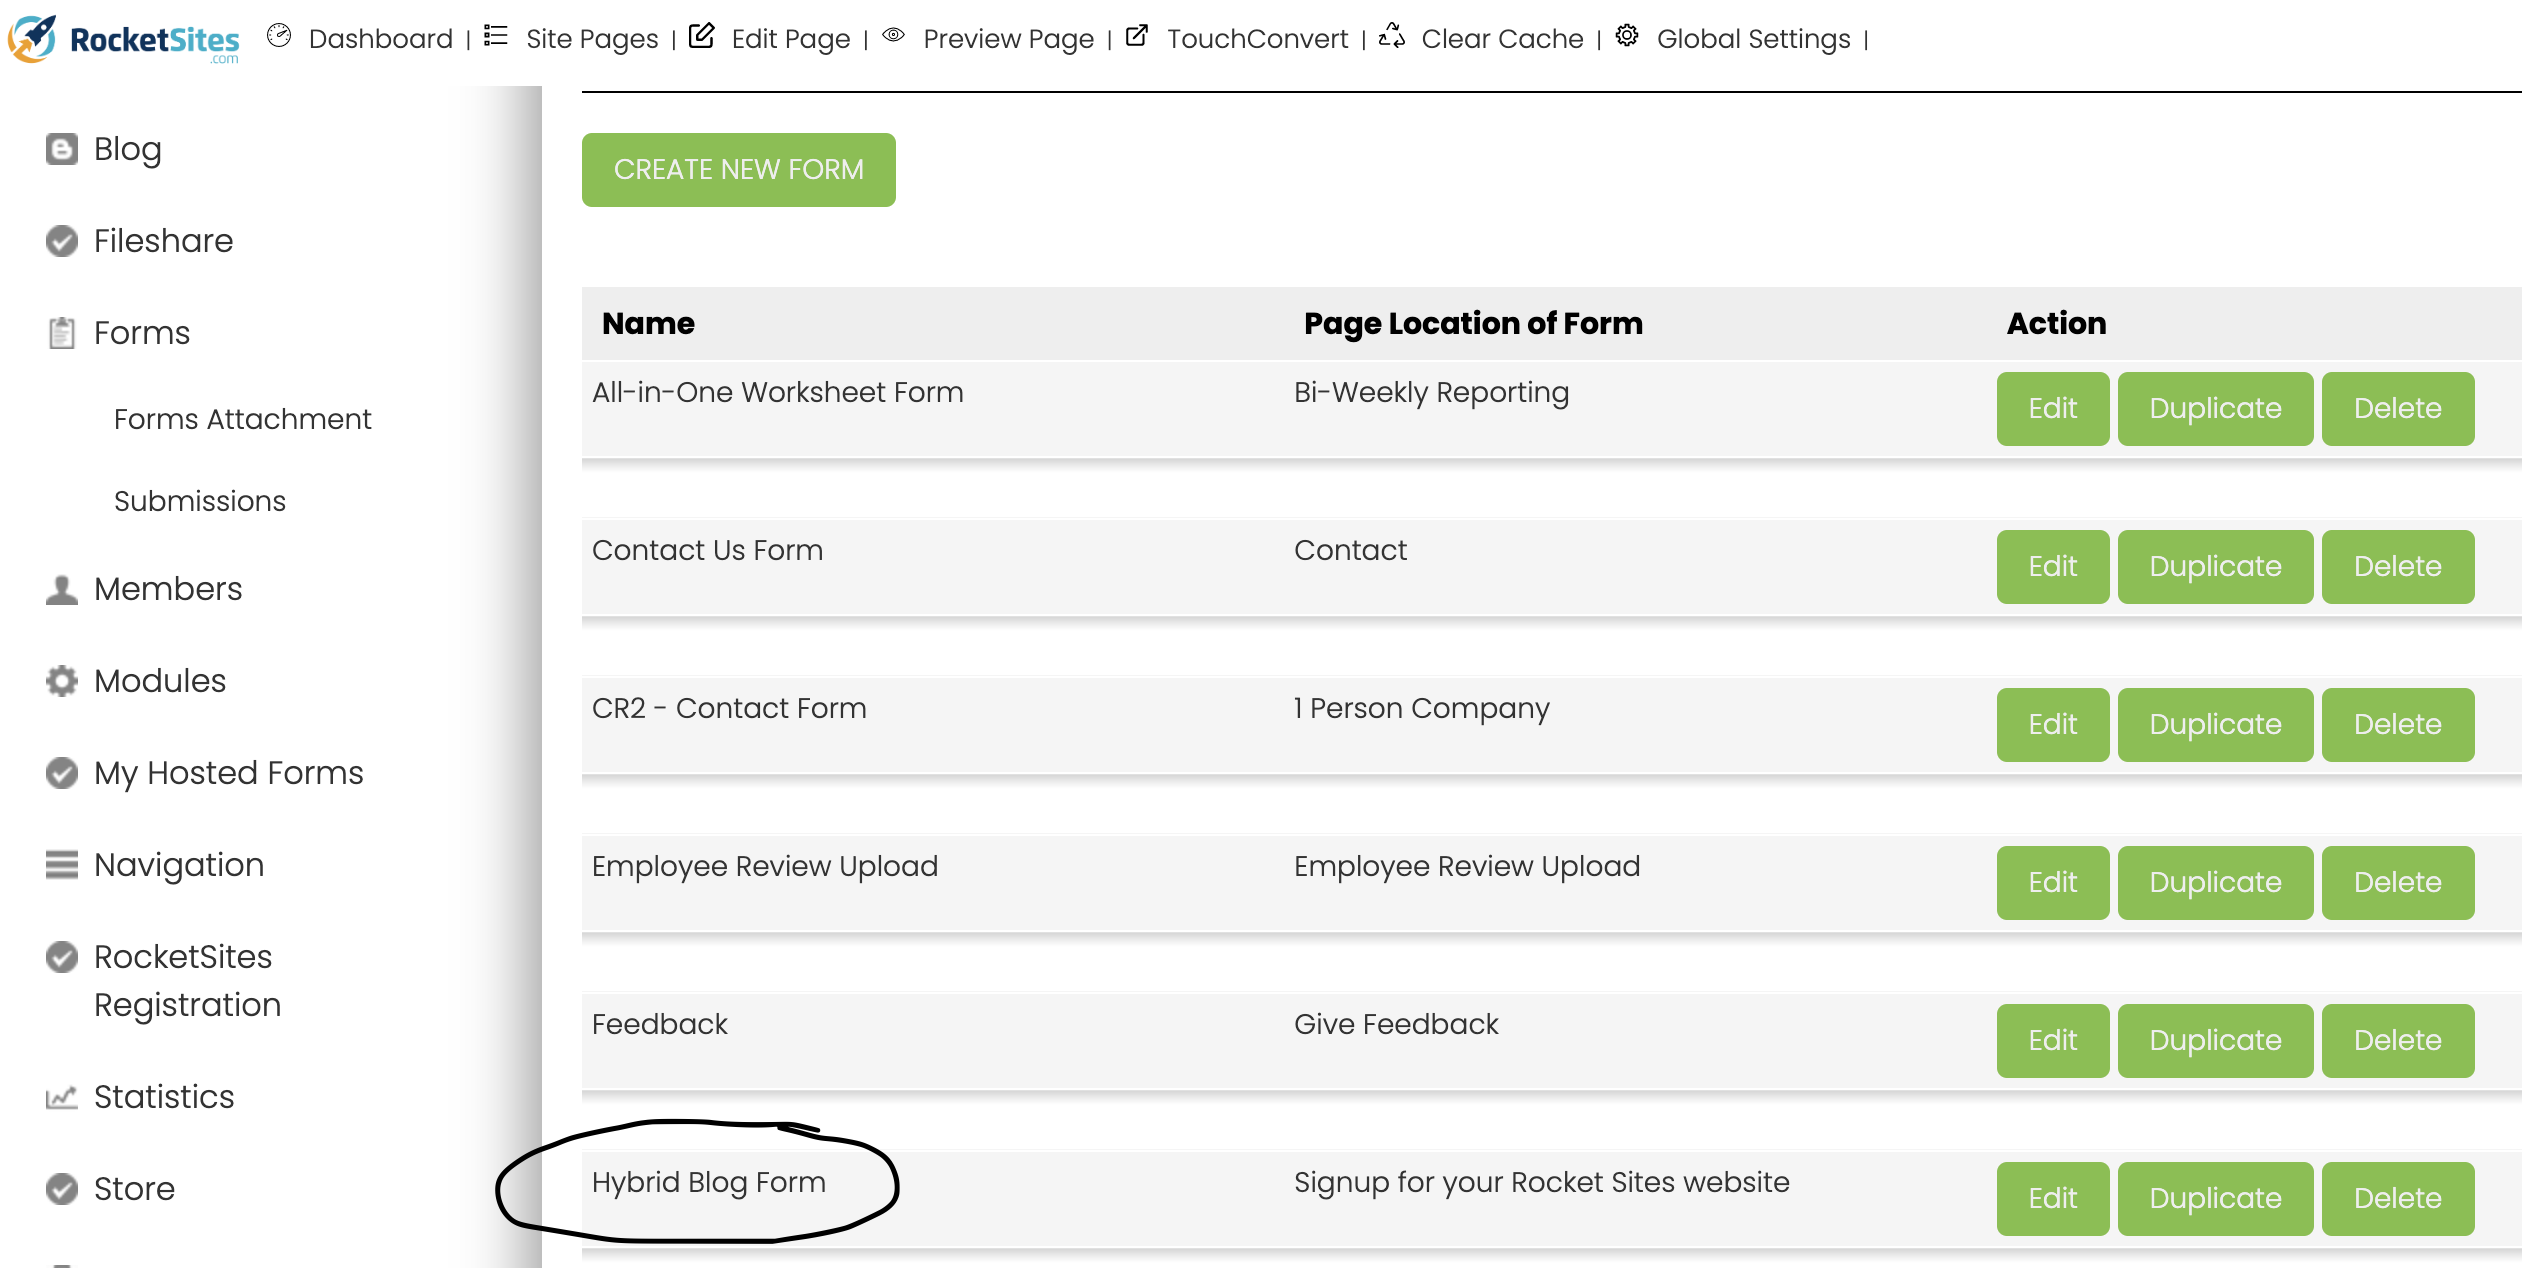
Click here:

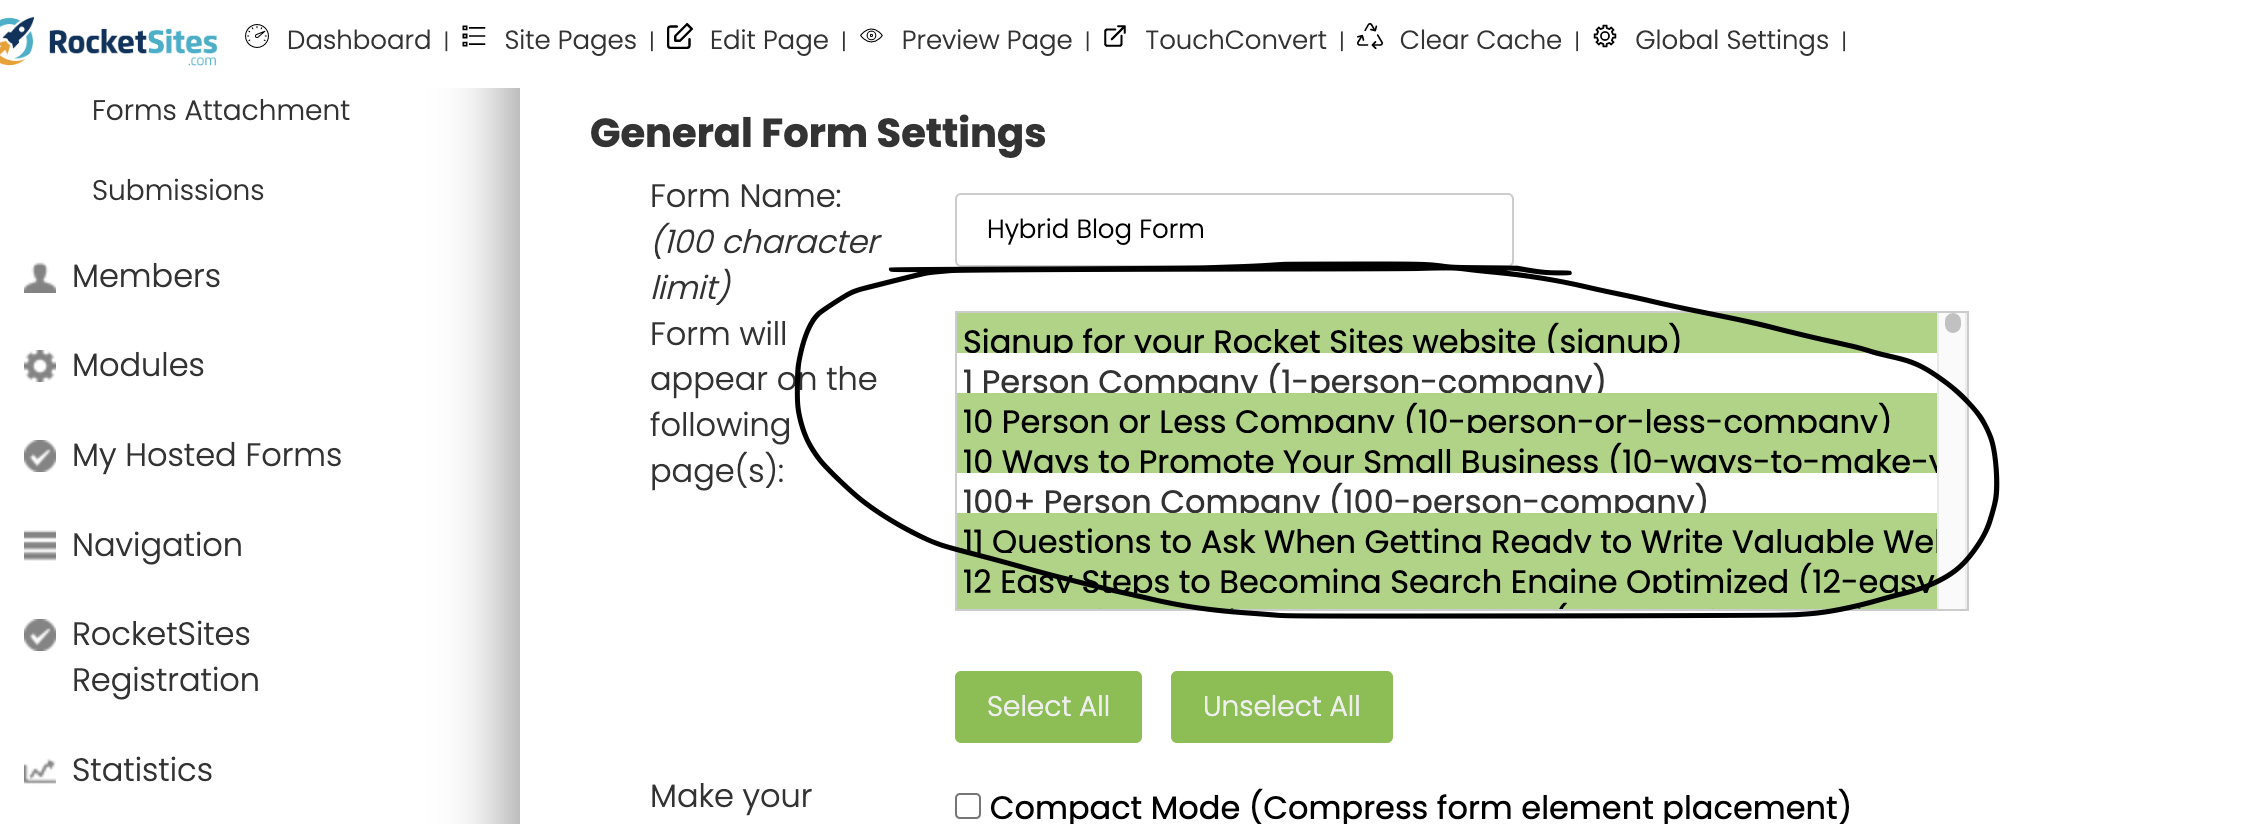
Then find the blog via this section and click it so that it will highlight in green:
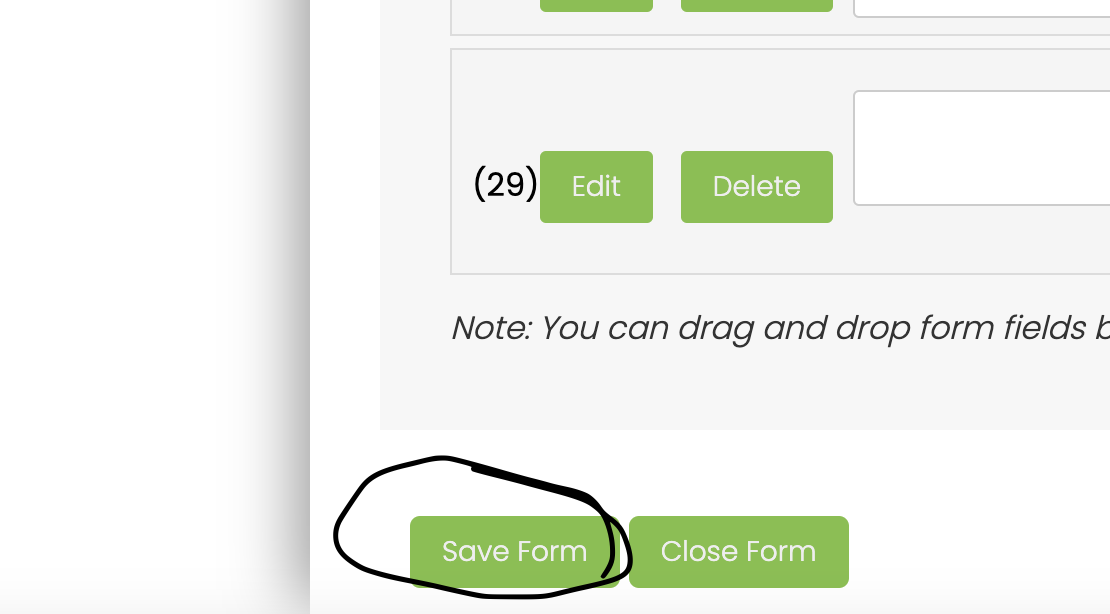
Scroll down to the bottom of the page and click here to save:
Then scroll back up to the top of the page and click here to return to your blog page to continue editing:
From this point, you will also need to upload the blog videos onto the client's YouTube channel (for more information on this process and a step-by-step demonstration, keep reading below)
Open the client's YouTube channel on another tab and keep it open during the posting process:
Uploading the blog videos onto the client's YouTube channel and the blog post
For this process, you will download the videos from FTRACK and get all videos onto the client's YouTube account.
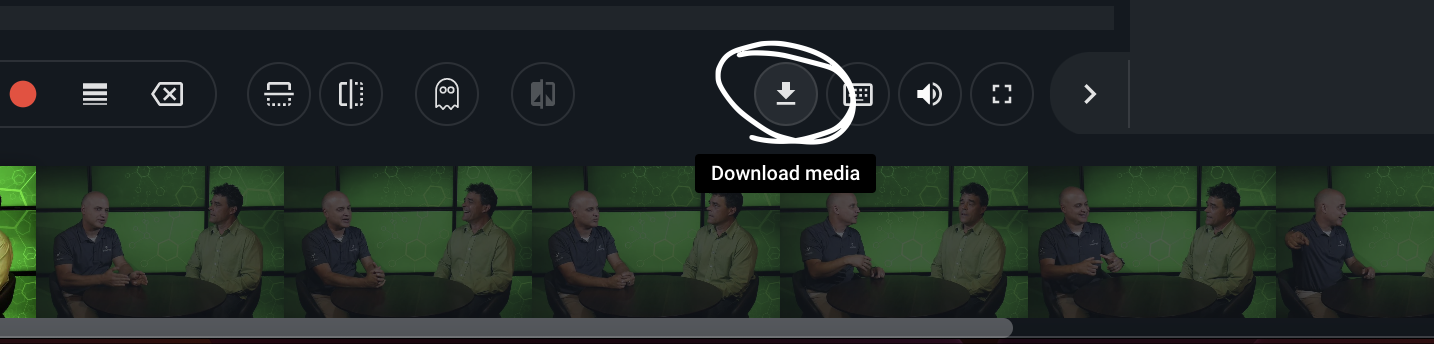
First, you will open FTRACK and download the videos onto your work desktop computer:
Then start downloading the videos like so:
Once all have been downloaded, you will then open YouTube and ensure you are logged in as Virteom:
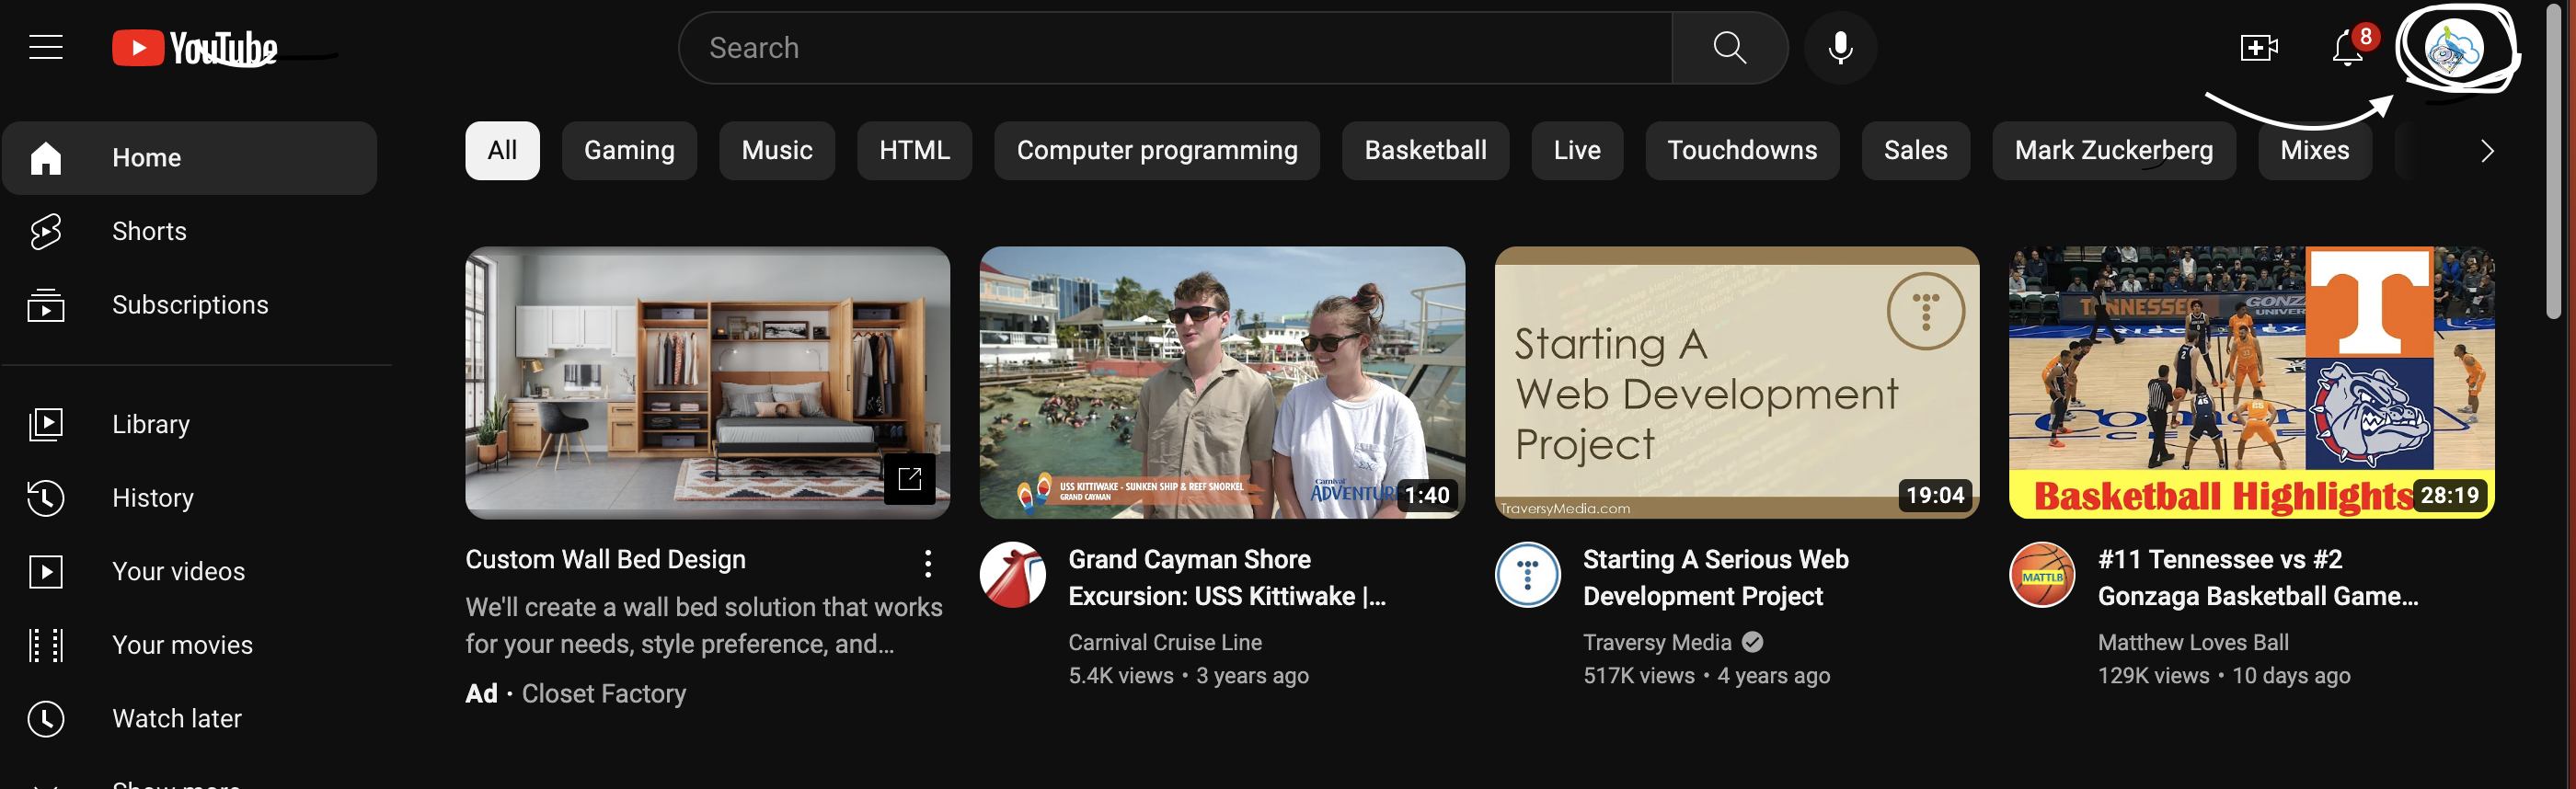
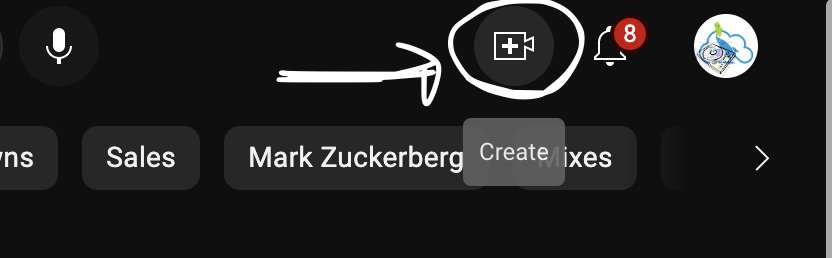
Click the upload button on YouTube:
***You can only upload 11 videos per day on YouTube, so plan accordingly***
***This process is NOT quick, and the uploading process will take up to an hour or more to fully upload all videos for your blogs***
***It is wise to begin this step BEFORE posting the blogs to the client's site so that the videos will be ready to post along with the blogs***
After the videos have been uploaded, you can paste the code of the video onto the blog like so:
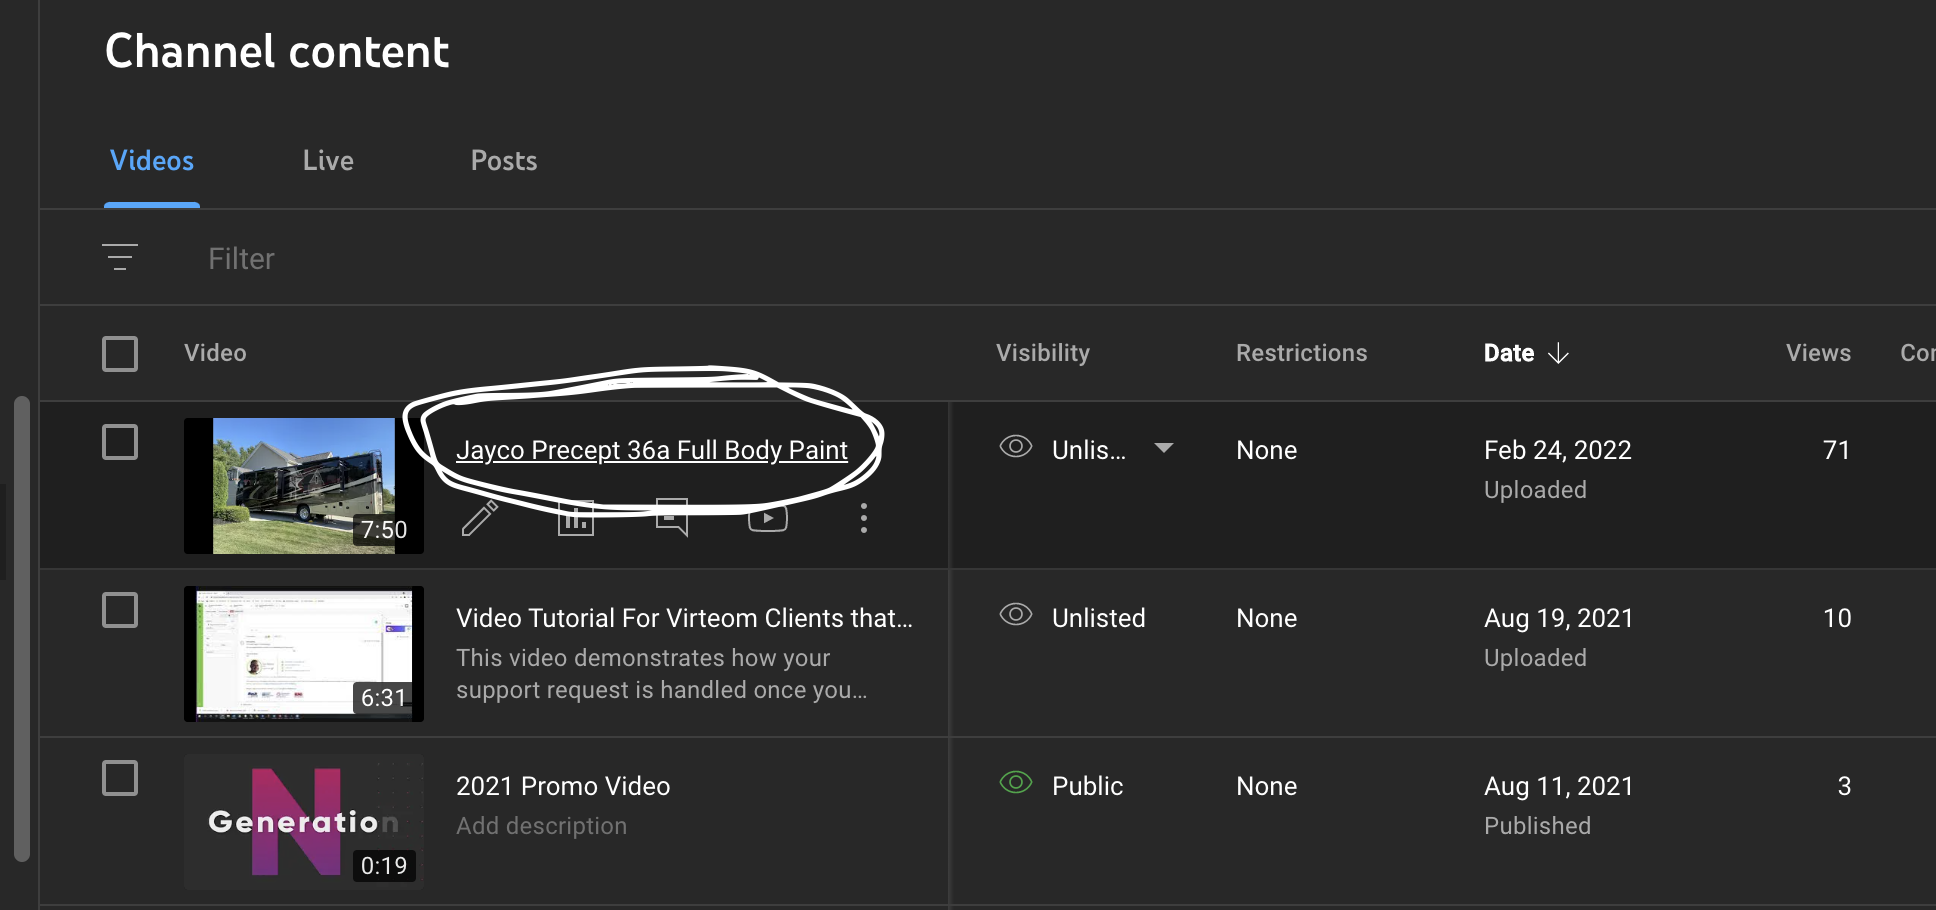
Click on the video you want:
From here, click on Share:

Then click on Embed like so:
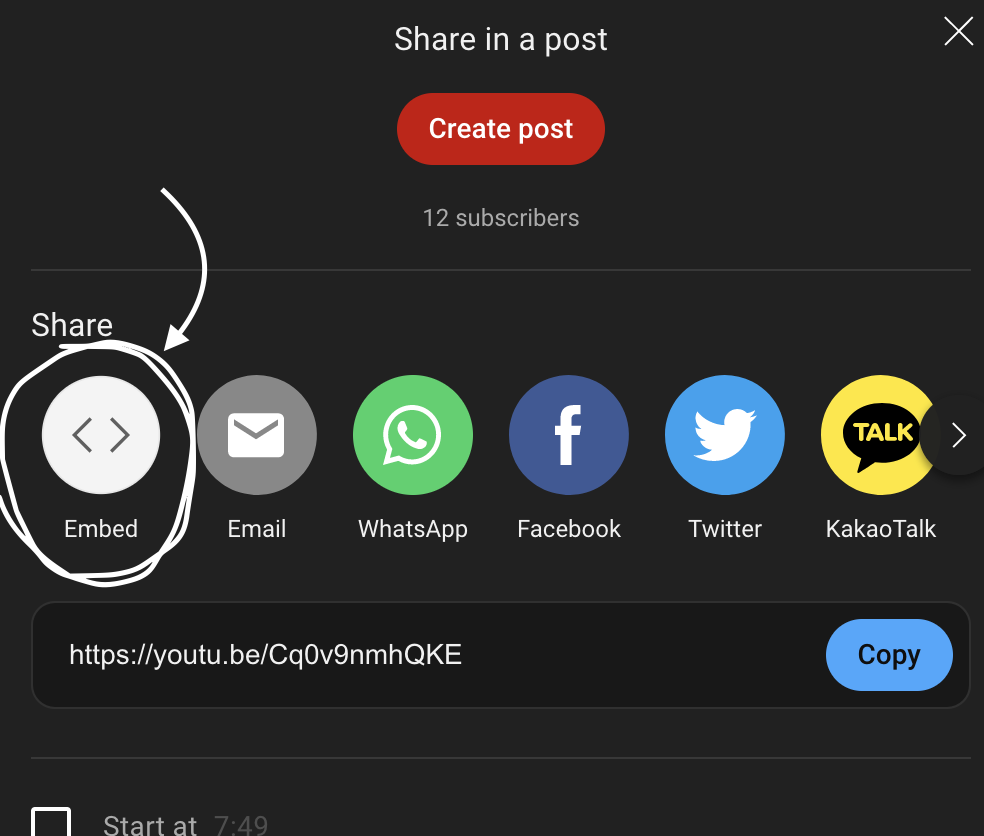
Then click on Copy to have the embedded code ready to paste onto the blog:

Then from this point, you will go back to the client's RocketSite blog page you are working on.
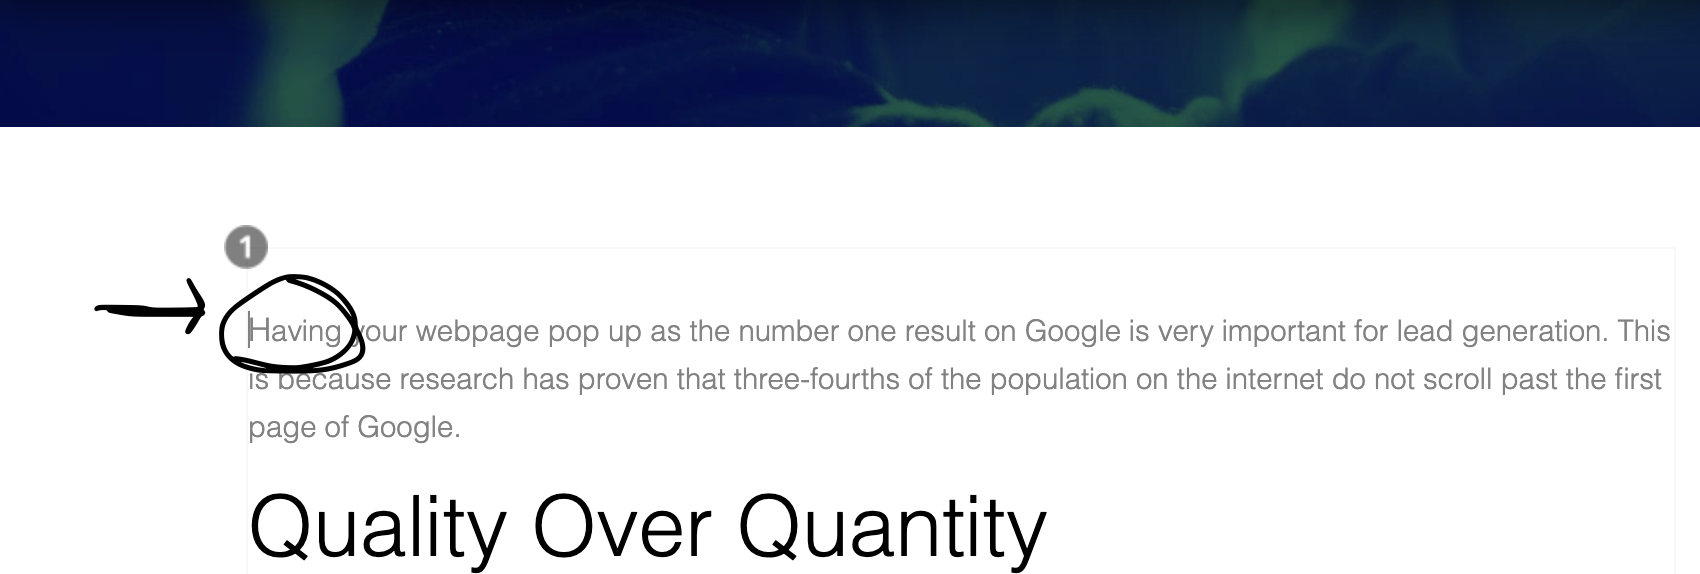
Make sure the cursor is before the first letter of the first paragraph of your blog post like so:
Click on the "source" tab:

The page should then look like so:

From this point, make sure the cursor is before the code like so:
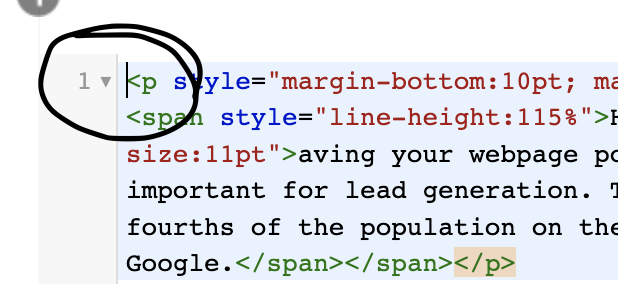
You will then copy and paste the embedded code onto the page.
Once placed, hit the "source" button to return to the regular blog page setup.
Ensure the video is uploaded like so:

Double-click on the video, and you will see this page come up:
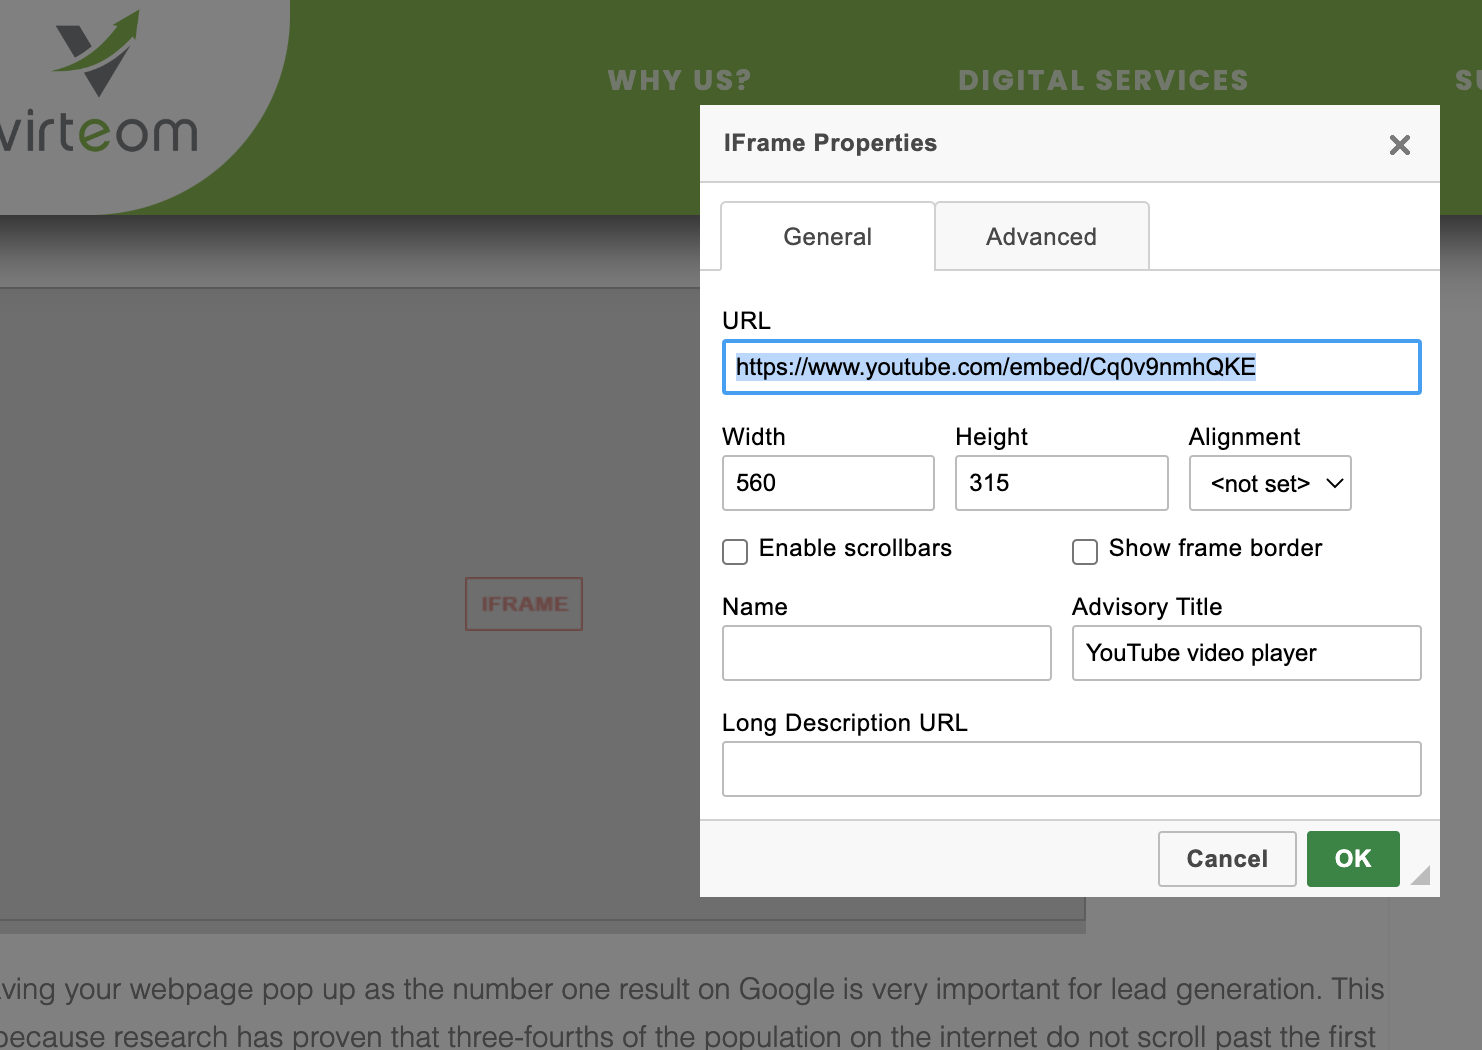
For ALL client videos for RocketSites, you will make sure the Width is ALWAYS 99%, and the Height is 400
Once inputting this information, click on the green "OK" button in the bottom right-hand corner.
Page Settings/Meta Data/Blog Settings/Blog photo uploading
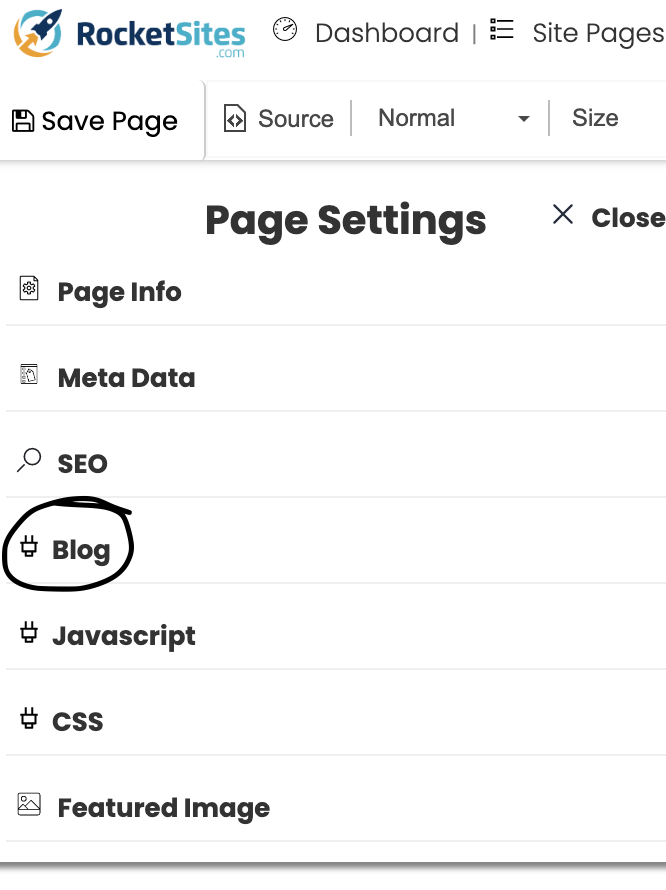
From this point, click on "Page Settings":

Then you will click on "Meta Data":
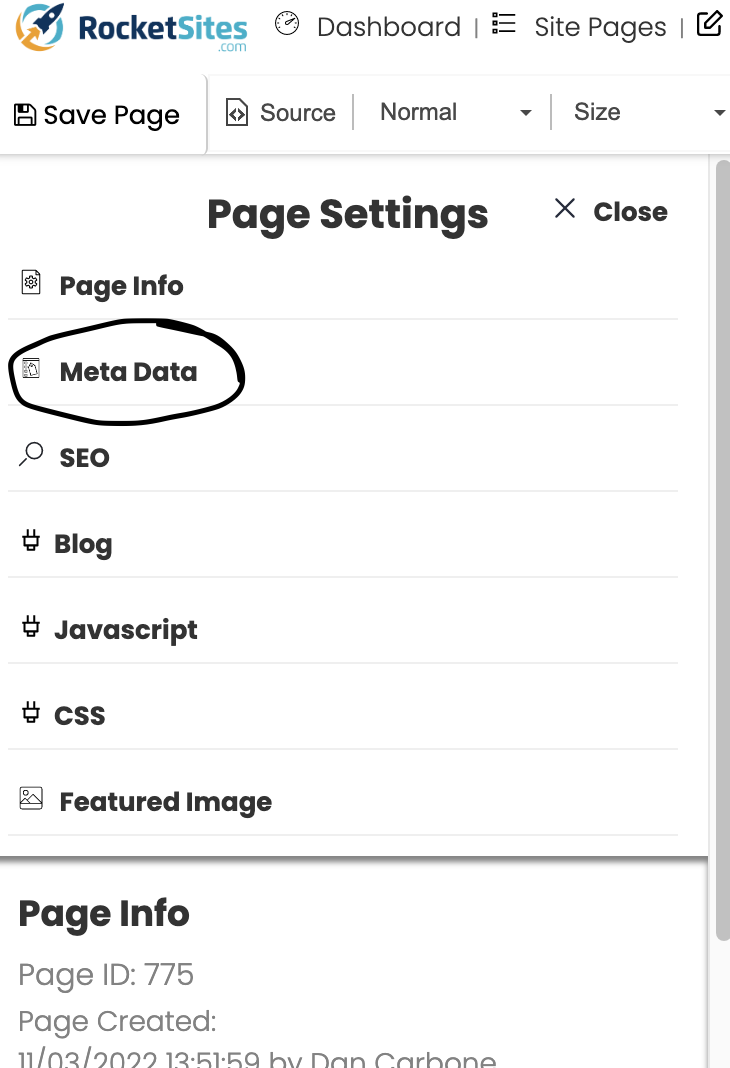
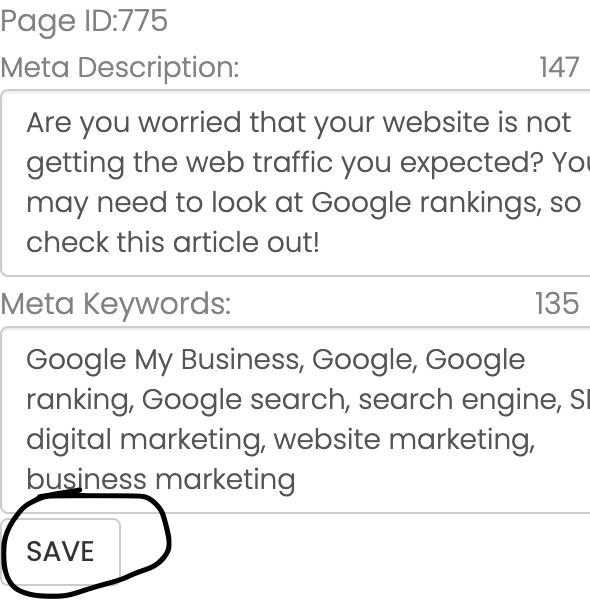
Once in "Meta Data," you will then ensure that you put in a meta description for the blog along with Meta Keywords like so:
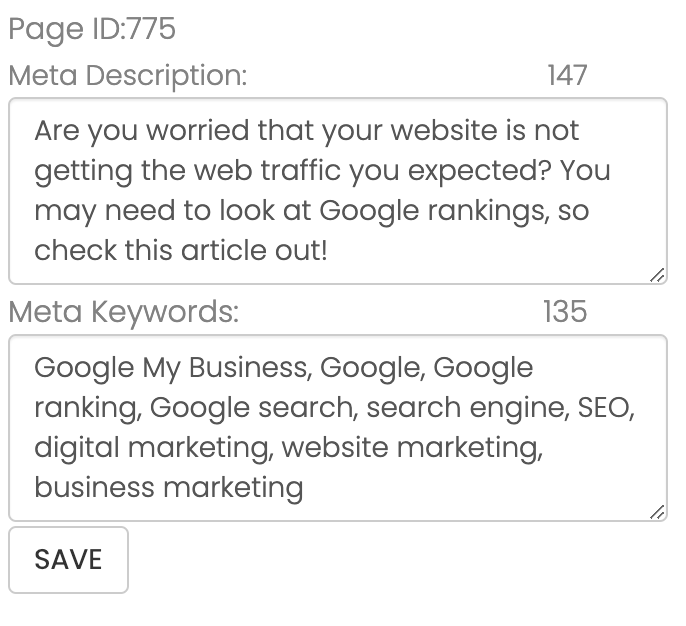
Once this step is completed, you can then click on the "Save" button:
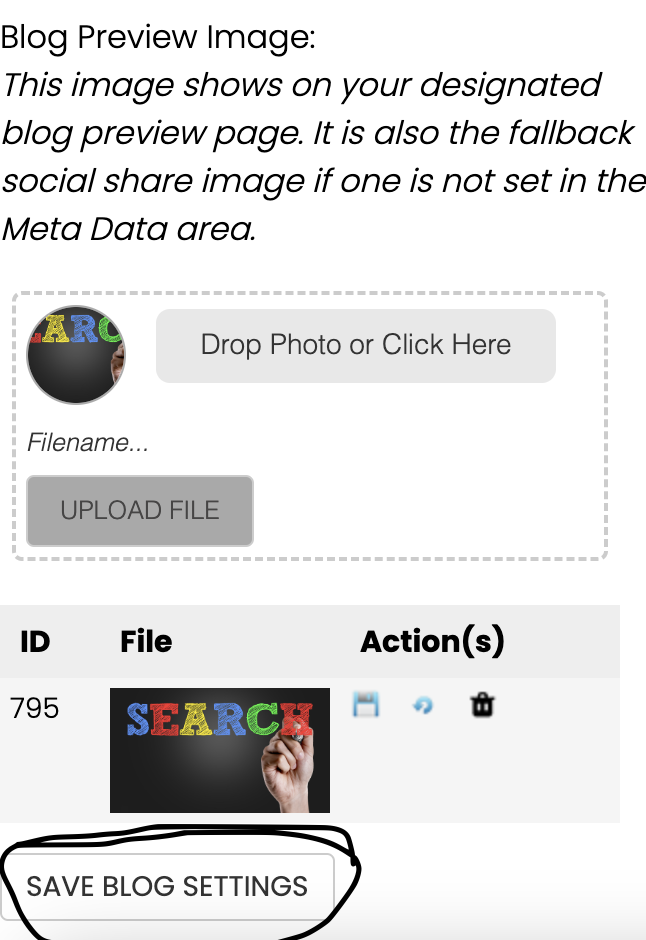
Scroll down a little bit and upload the photo for the blog post:

Find the photo you want for the blog post and upload it. Once dropped, click on the "Upload File" button:

After this, you will then click on the "Blog" portion:
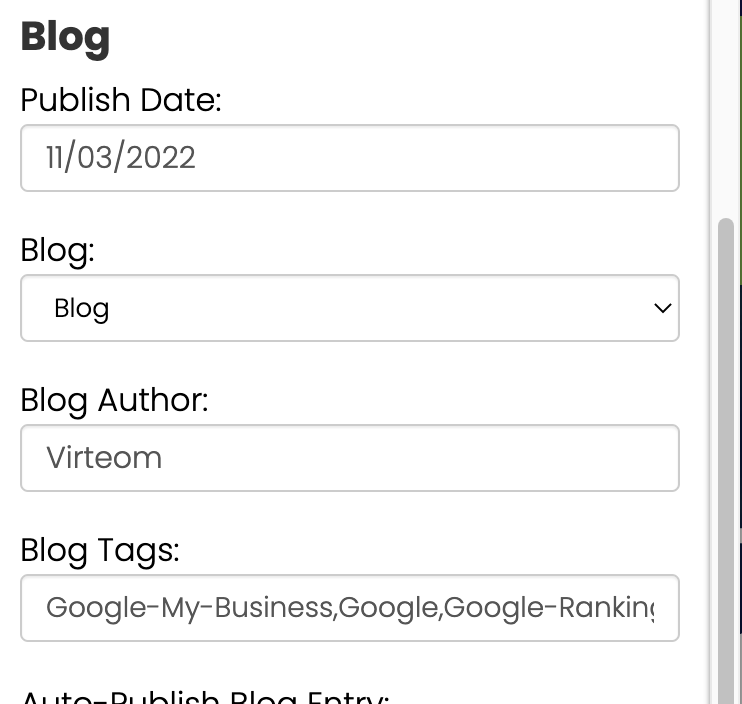
Once here, ensure you change the name of the author to the name of the client:

From here, ensure the blog is currently posted to the "Blog" portion of the page like so:
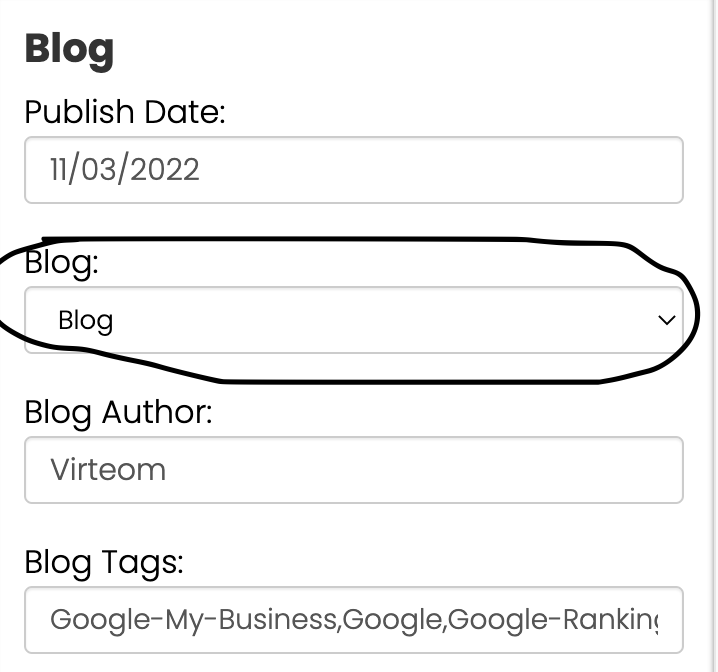
Then from here, you will add the blog tags:
Once these steps are complete, you will then scroll down and upload the SAME photo you used for the META DATA and finish the process by clicking here:
From here, the blog post should be good to go and will be published immediately.
Make sure to hyperlink/backlink any other blog posts or information from the client's website.
Hyperlink/Backlink For Blog Posts
When posting a blog, you want to ensure you include links to other blog posts that are relevant to the content in the blog and ensure you put down where the readers can reach out to the client for more information.
To input, a link to a blog, page, or outside source, click on the word you want to use like so:

Then head up to the link button:

Once clicked, copy and paste the link onto this portion of the window:
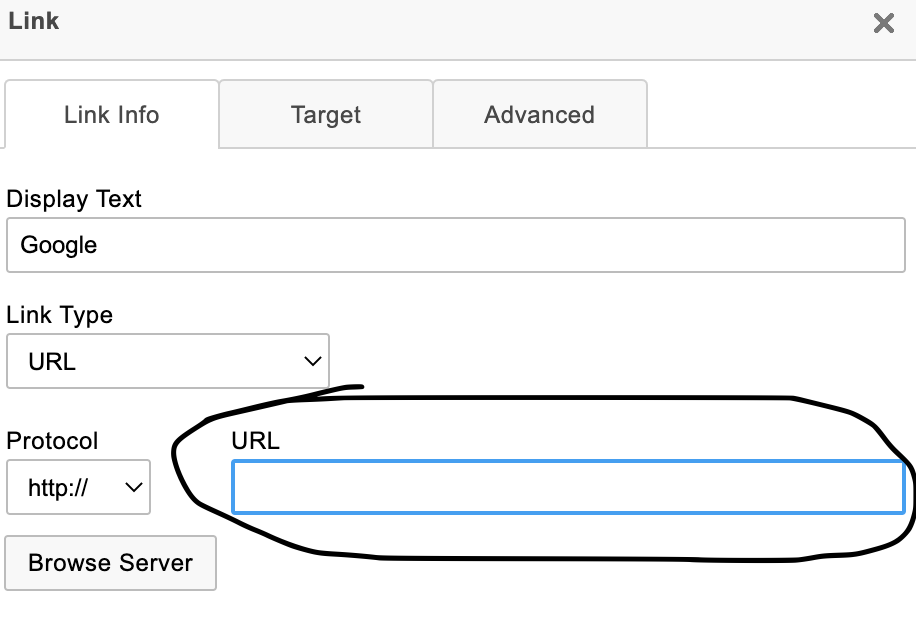
Once the link is pasted into the URL box, go ahead and click on Target:
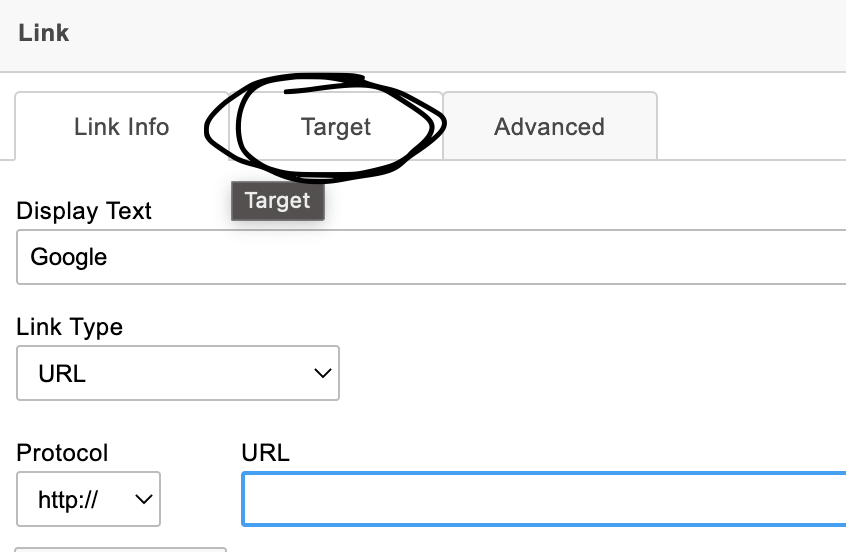
From here, ensure to click here:

Once this is completed, click here:
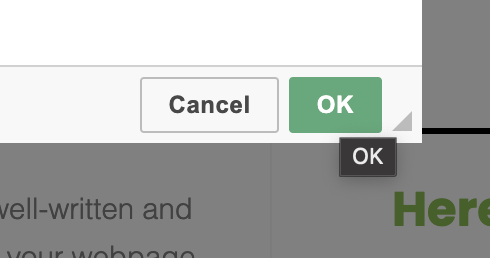
After this, the word you highlighted will now have the link for readers to click on, as the words will be green.
After all these steps are complete, the blog WILL be ready to post.
YouTube Posting With Link To Blog
Once the blog is entirely written, you can head to the video on the client's YouTube channel and get the video ready by following the steps below.
First, write out the blog title as the title of the YouTube video:
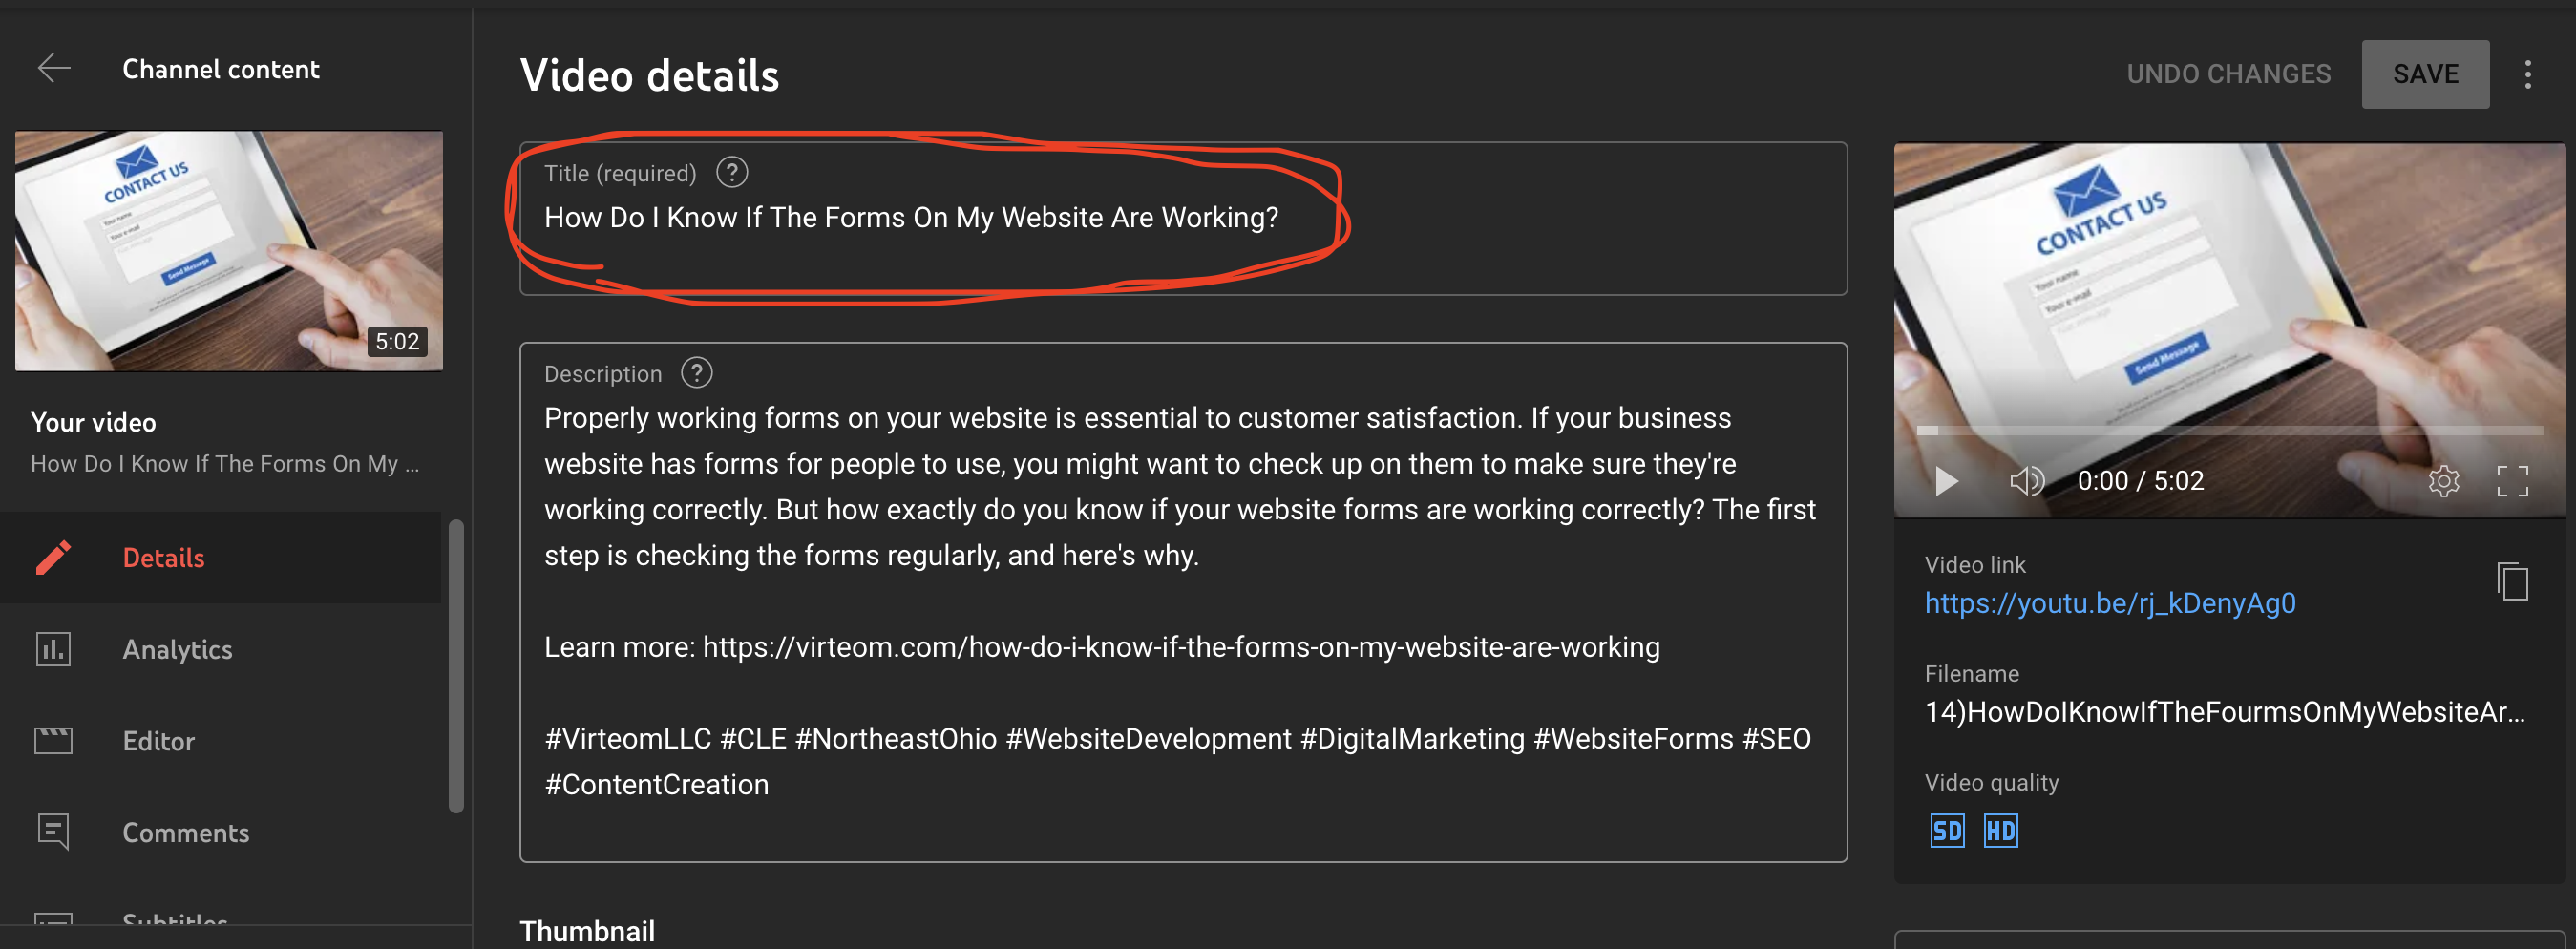
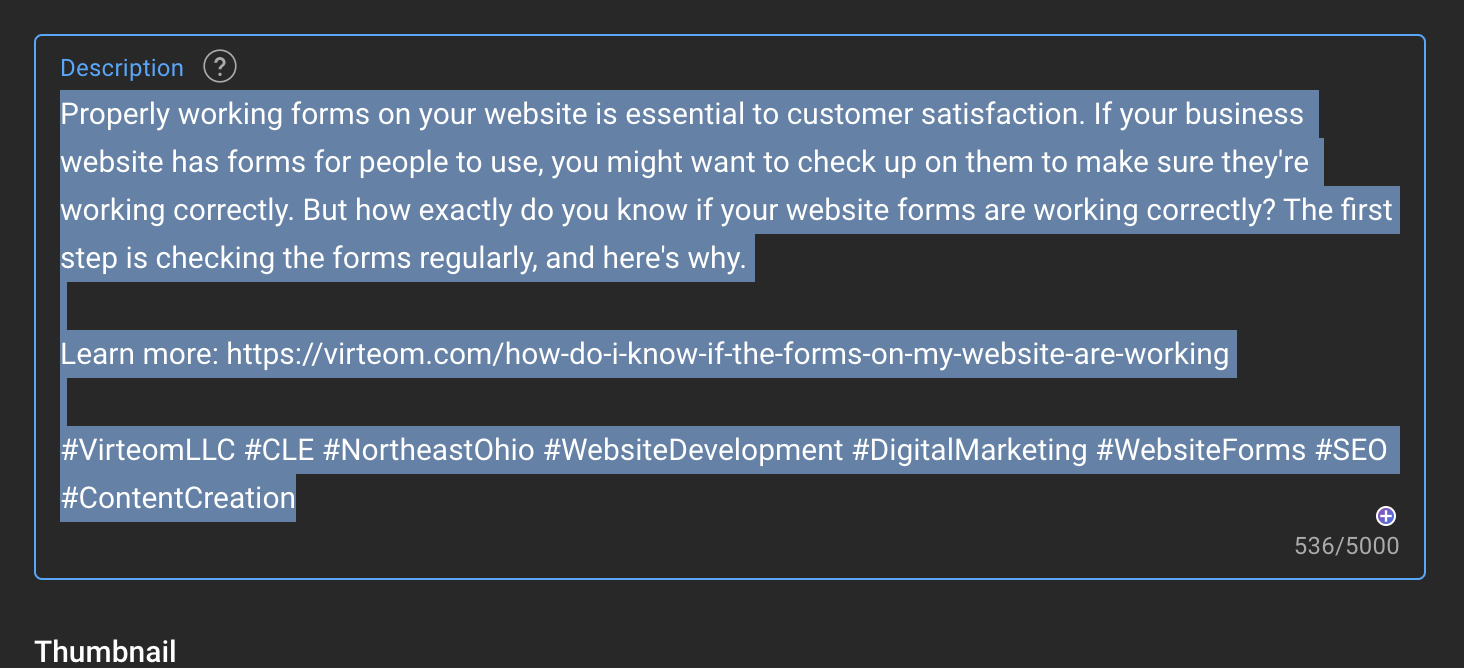
Then from here, write a small but informative description of the video and what this topic will cover like so:
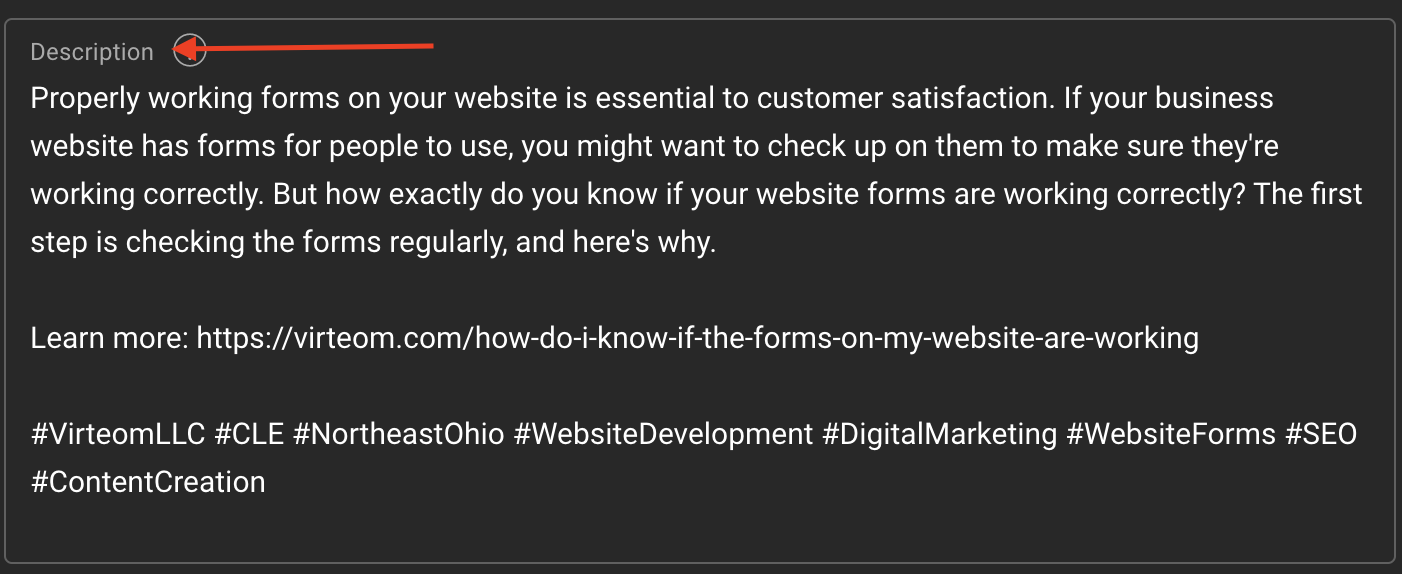
Then copy and paste the link to the blog post onto the description area:
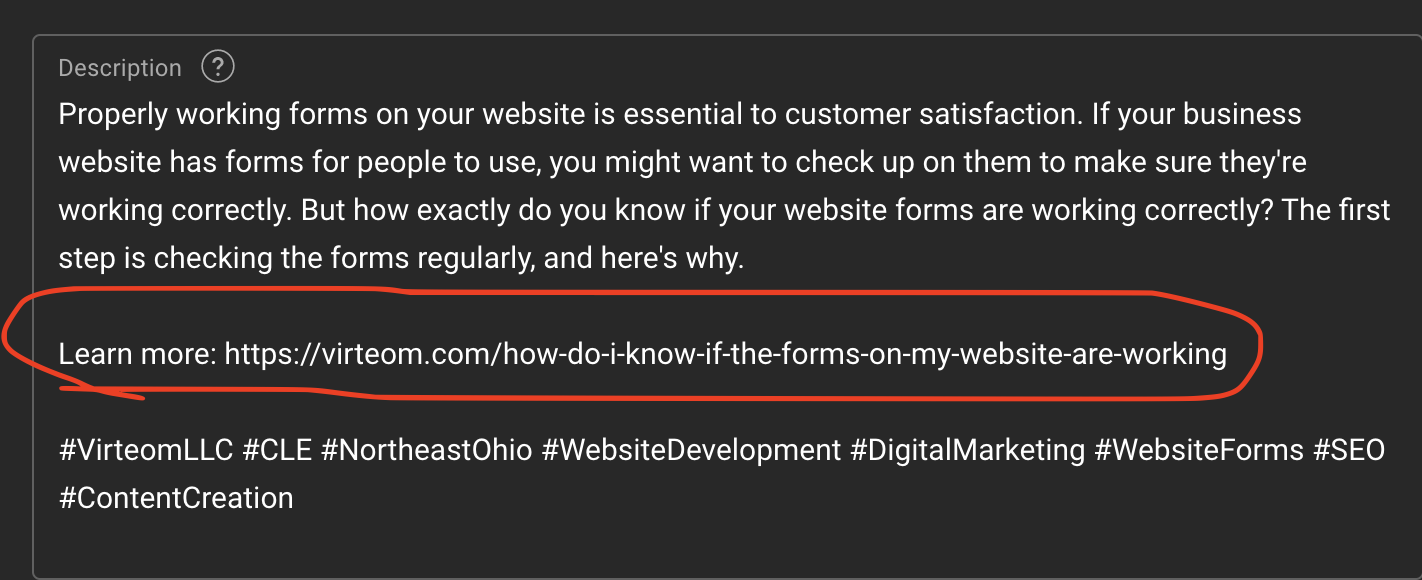
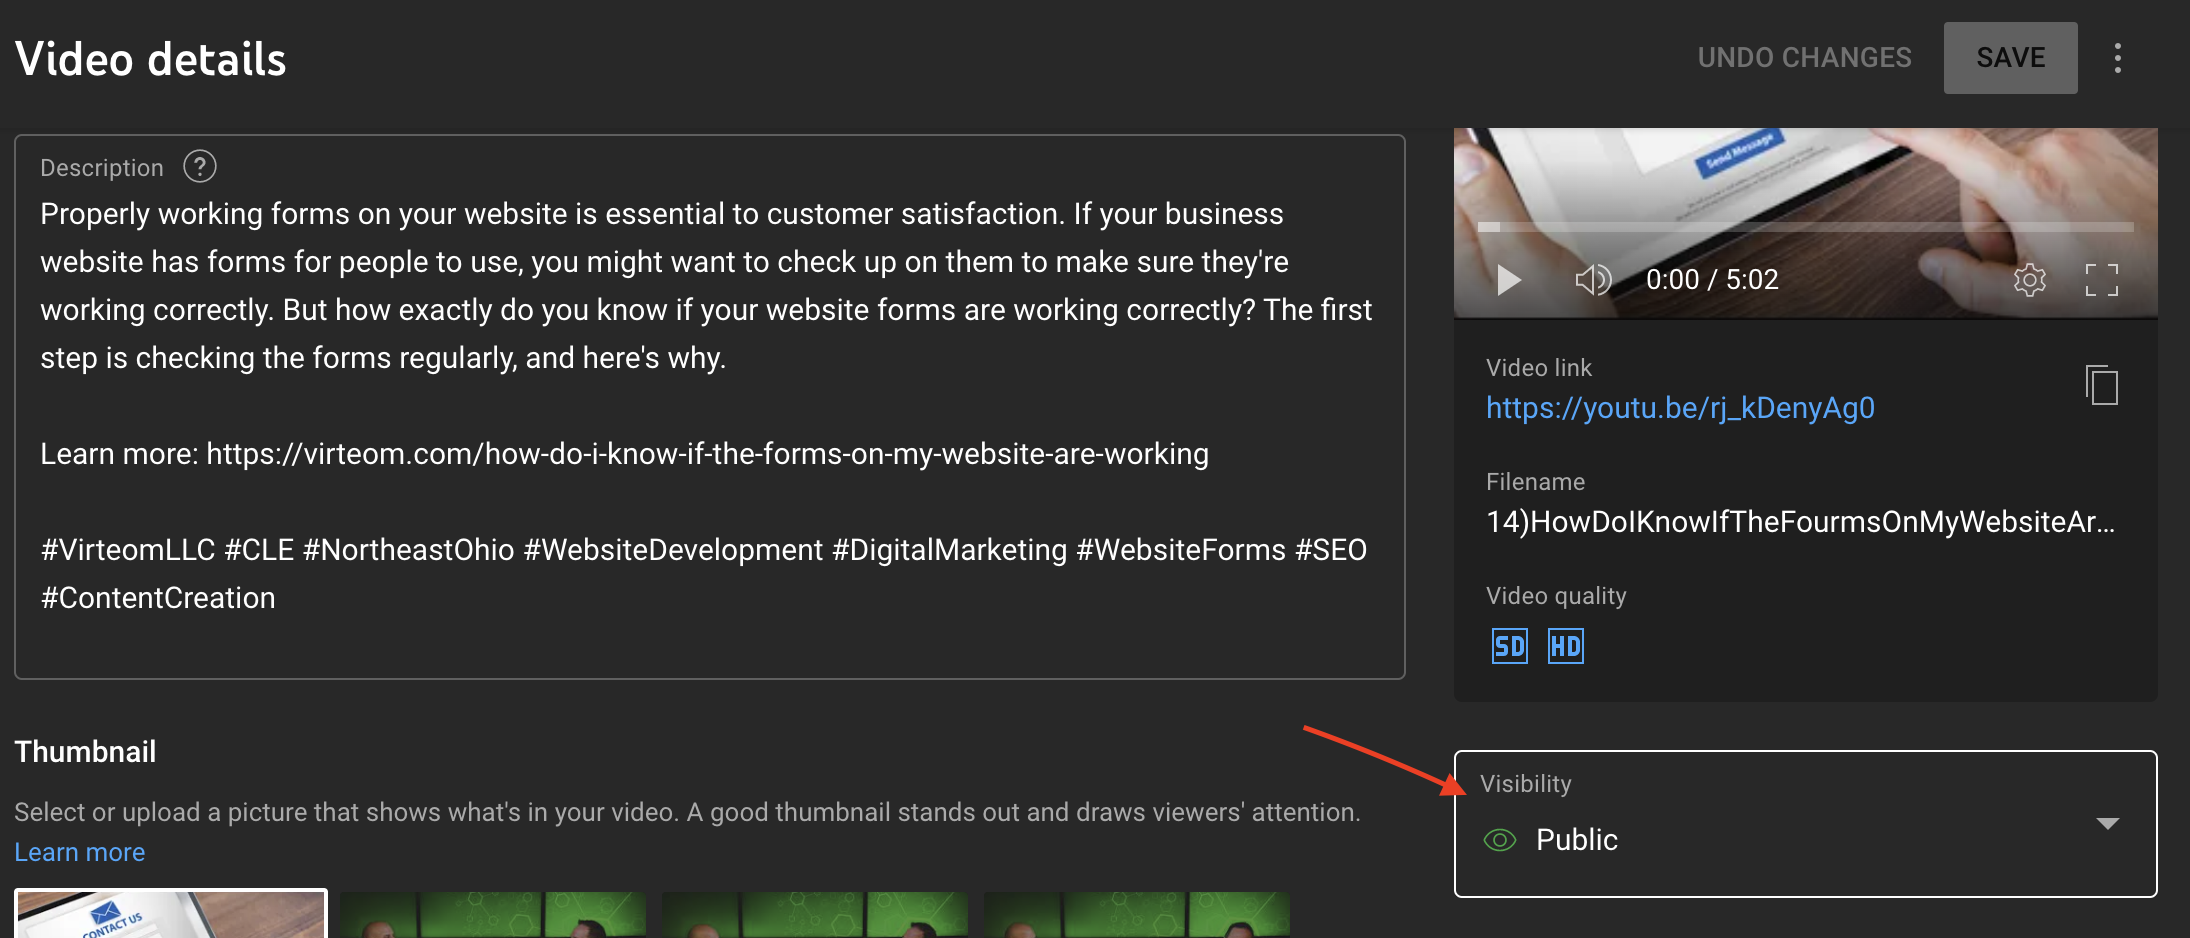
Then make sure to choose correct and relatable hashtags that will ensure the video gets the attention it needs from the right audience:

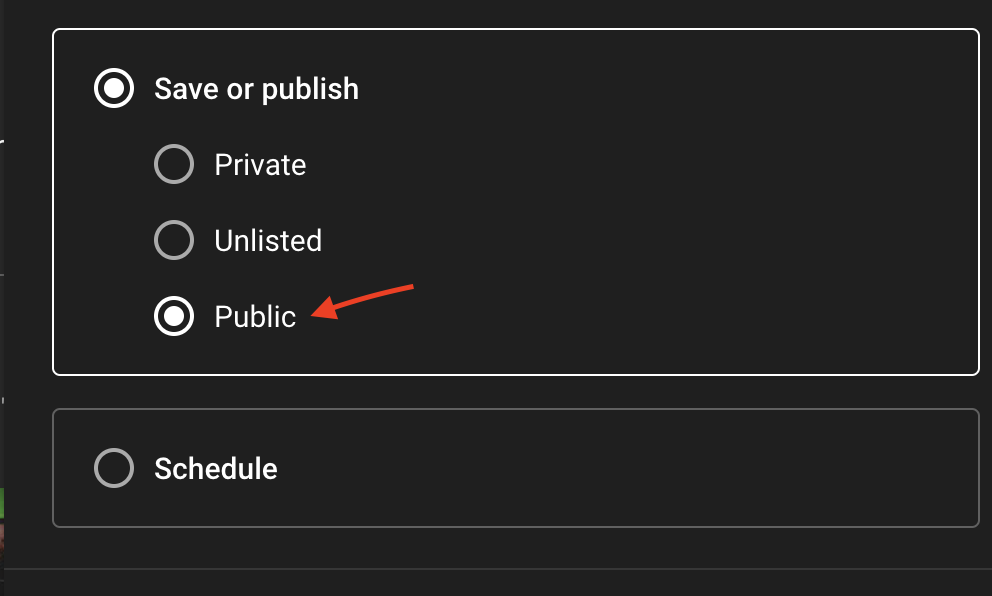
After all the information is placed, the video is ready to make public:

Social Media Posting For Clients:
Once the blog and video have been published, it is time to post the social media posts to the client's respective platforms.
To do this, log into Social Pilot (to find the login credentials, please refer back to the above information regarding social pilot.
Once signed in, click here to begin posting:

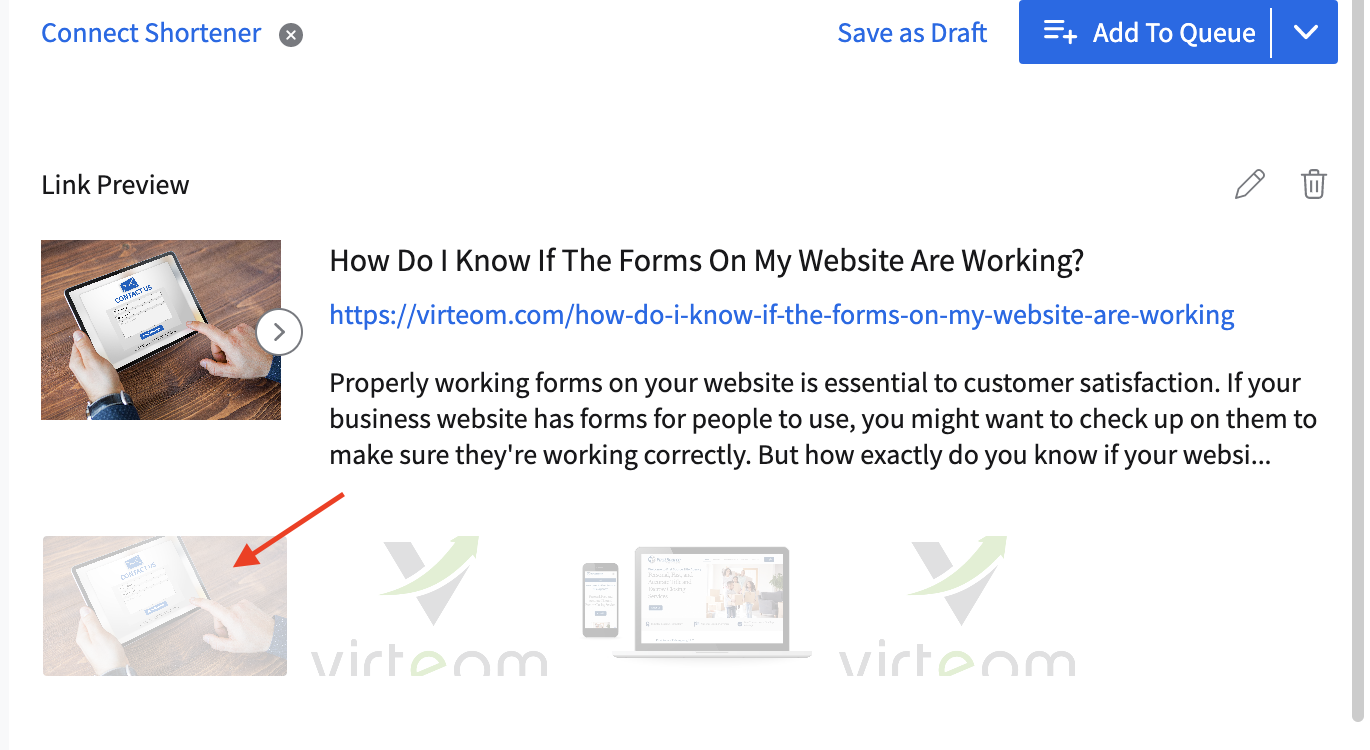
From this point, you should see the following information:
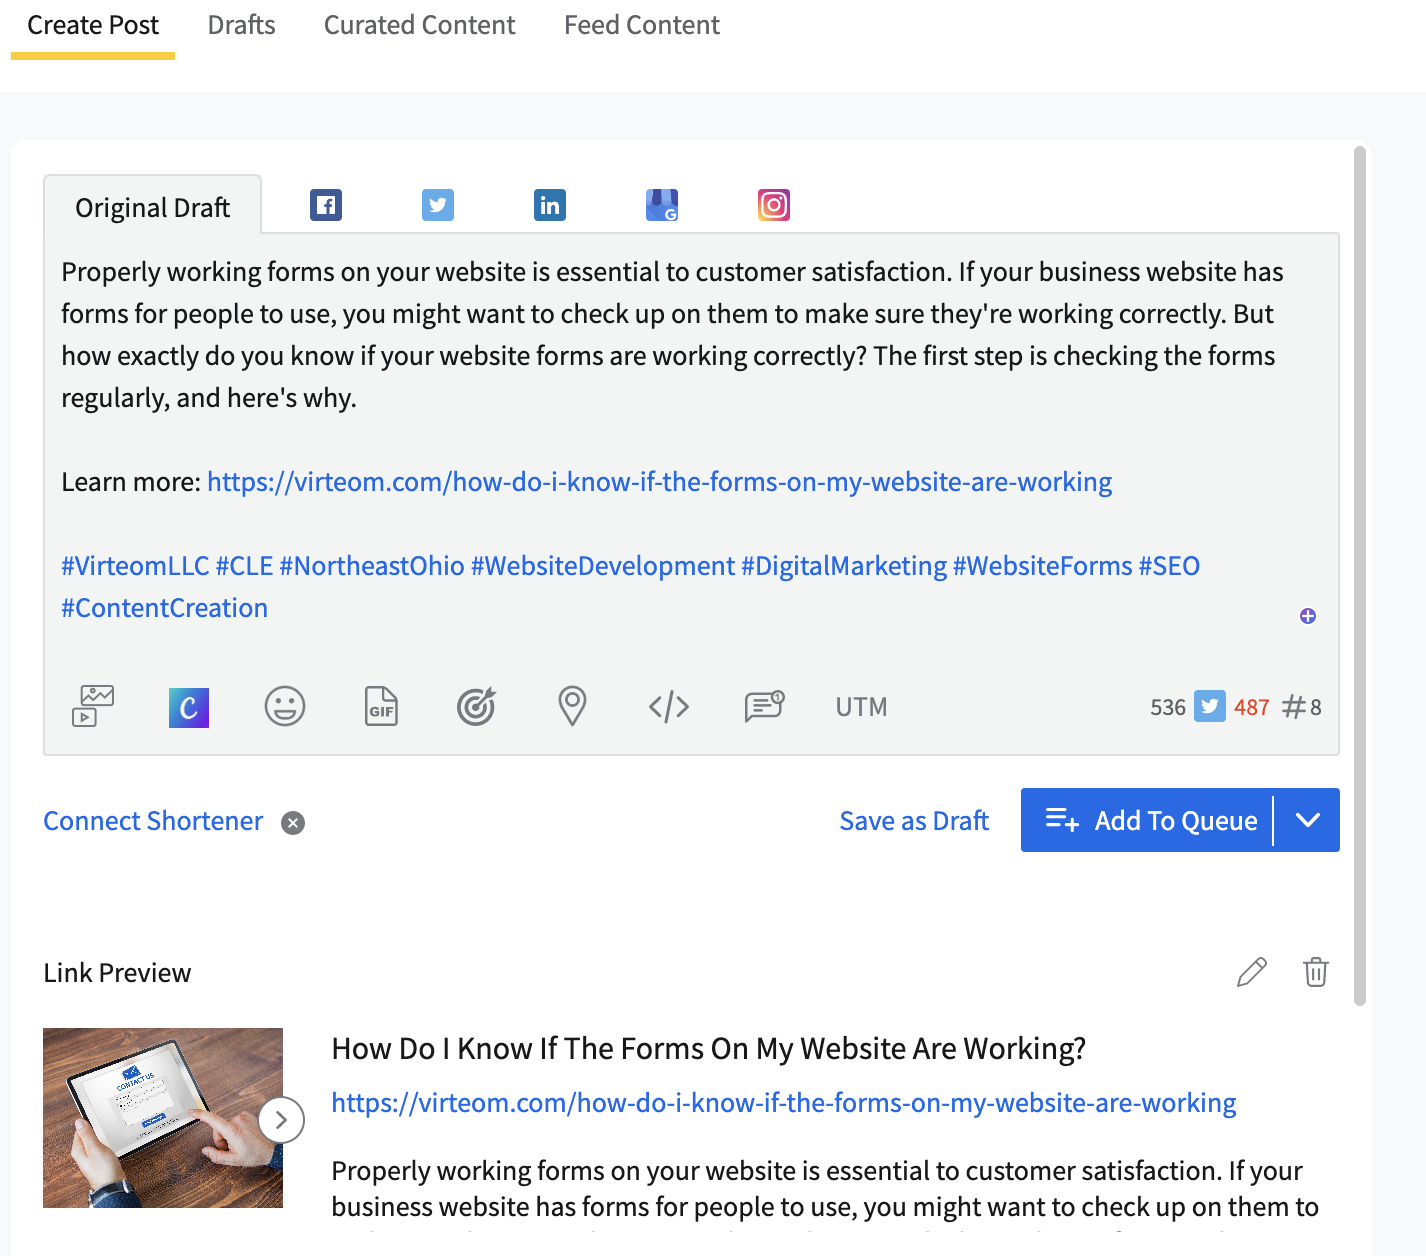
From here, you want to leave up the YouTube video page to copy and paste the information like so:
Once the information is copied, go ahead and paste it onto social pilot like so:

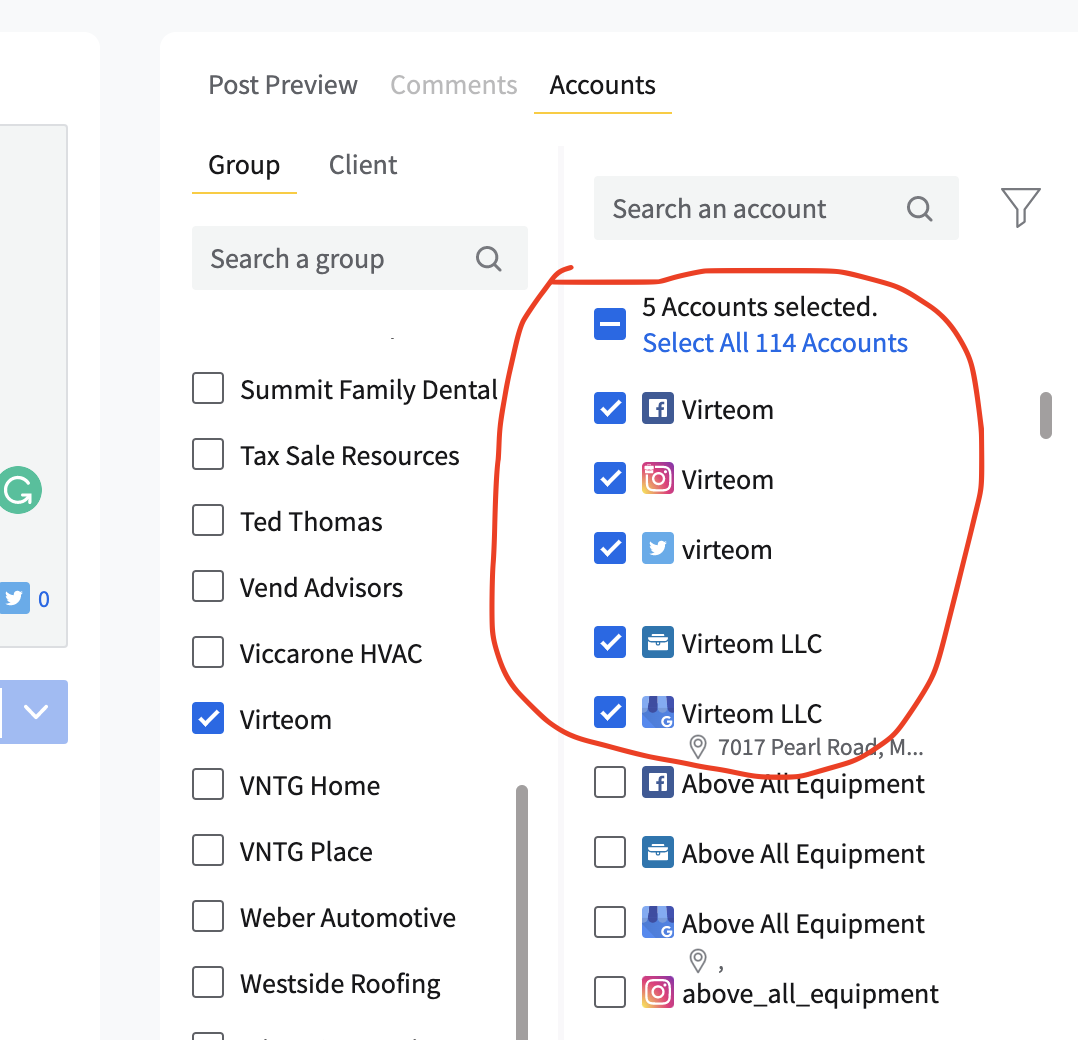
From here, you will then ensure you choose the right client by searching here or scrolling until you find them:

From this point, make sure the post is written to tailor to each platform. If they have twitter, edit the content to fit the character limit:

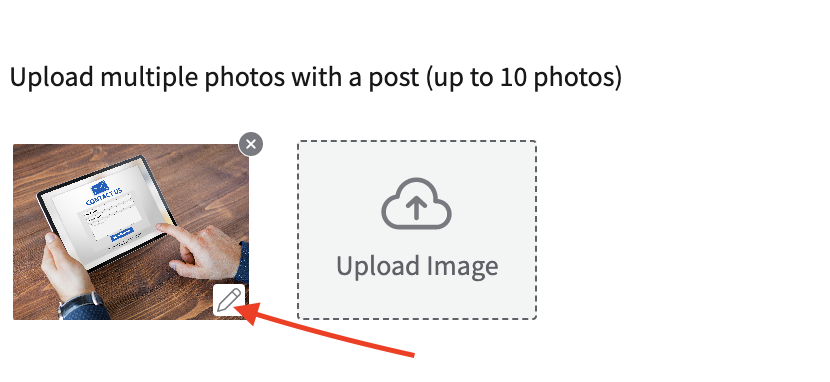
After this, ensure that the blog post will have a photo attached. You can either upload the same image used or scroll a little down and find it and click here like so:
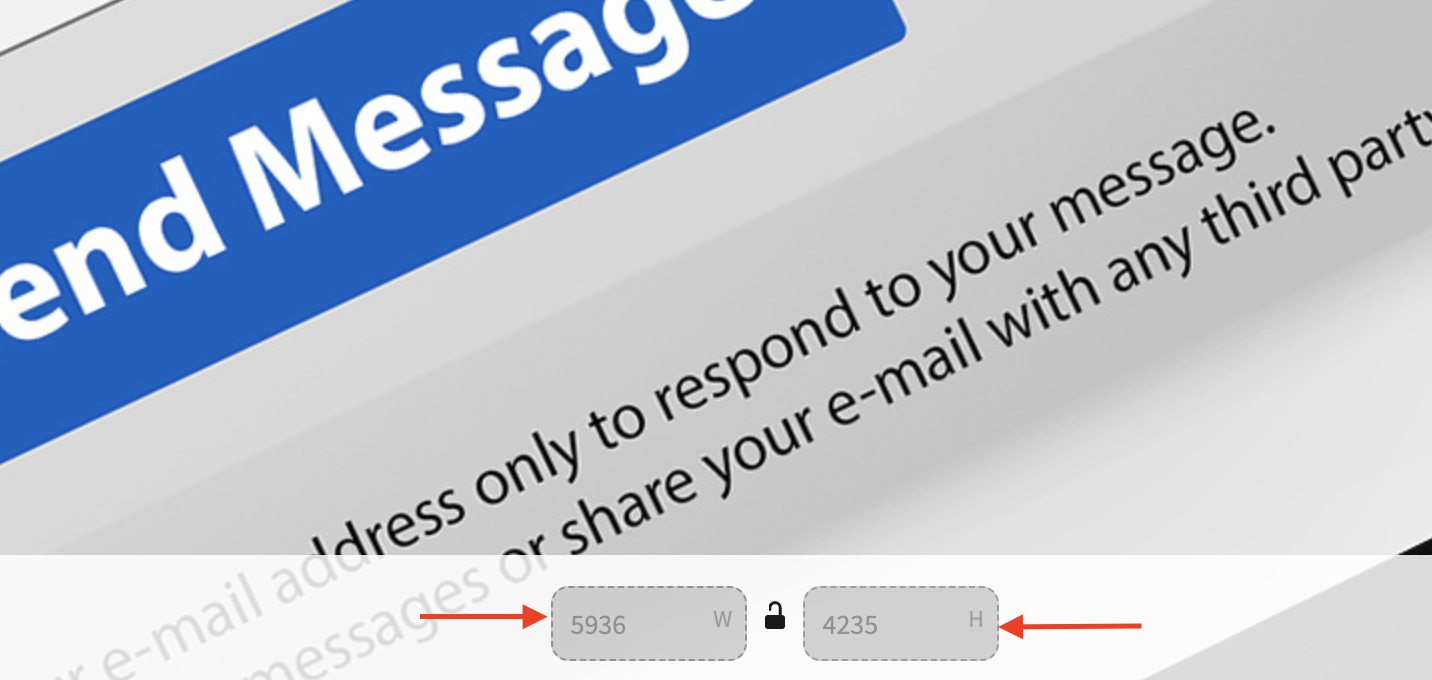
You WILL need to edit the size of the photo for each platform. Refer above to the size of each platform for photo posting:

After this step is completed, you will then be ready to schedule the post accordingly:

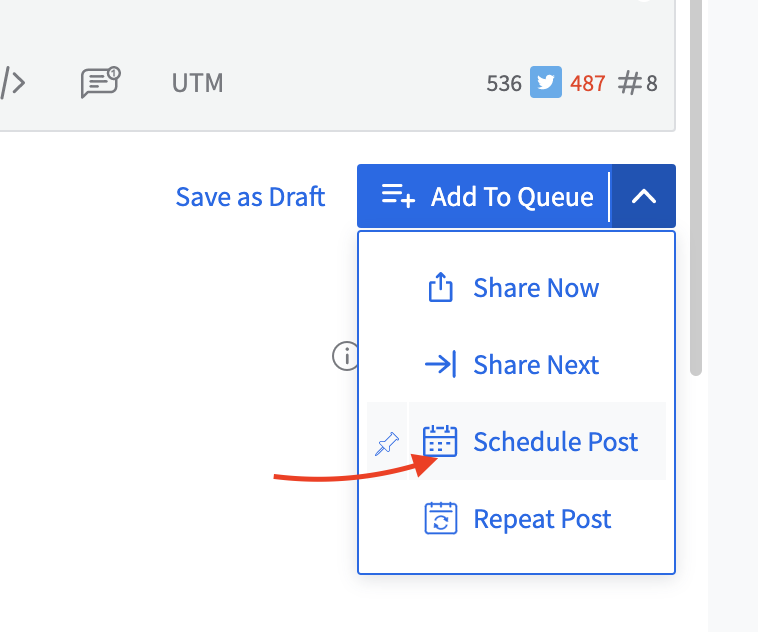
From here, you can pick a day and time that best suits the client and their niche. You can do this by doing a little bit of research via Google.
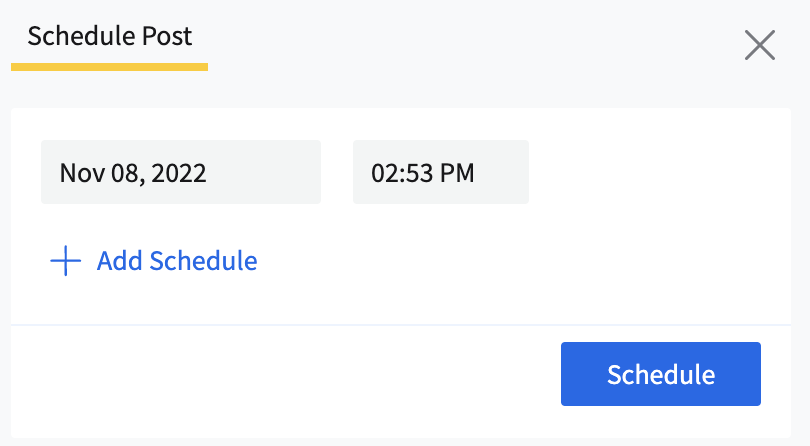
Once this is figured out, the post is ready to go by clicking "Schedule."